Utility Vest
A quilted cotton vest with an healty amount of pockets and a light hood.
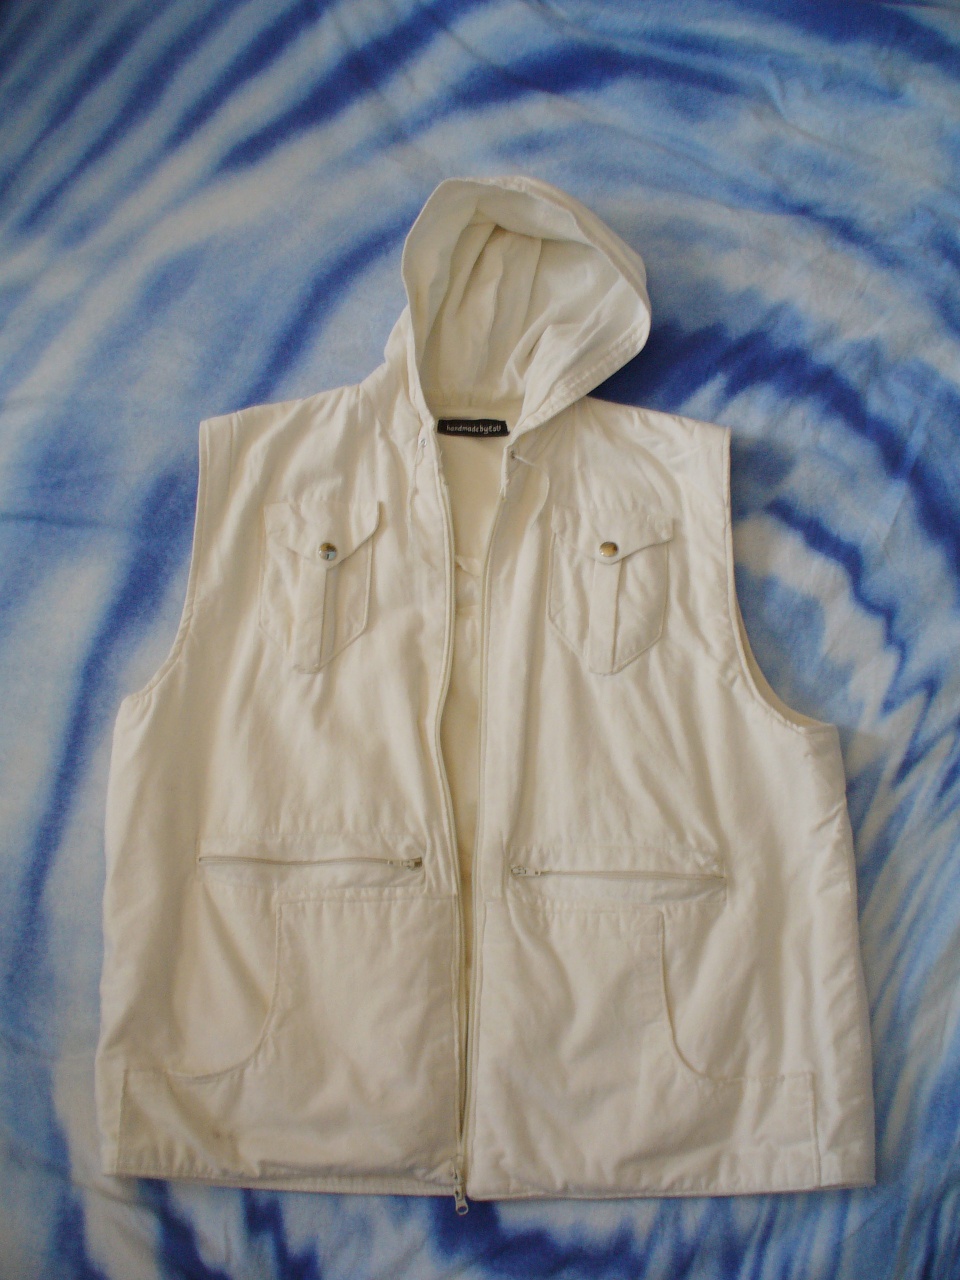
This is a piece of utility clothing that is excellent for light hiking, tourism or mapping parties in the spring and autumn. I've added 11 pockets: one on the inner back sized for A4 paper and notebooks, 4 on the front (inner and outer) that fit A5 paper and folded maps, four smaller pockets on the upper front and two "hand warmers".
I've uses IKEA's BOMULL undyed unbleached cheap light cotton in 4 layers for the vest and 2 layers for the hood. A variant with nylon or some other waterproof fabric for the external layers could be useful against wind and rain, but than you would have to take more care to keep the stitching waterproof.
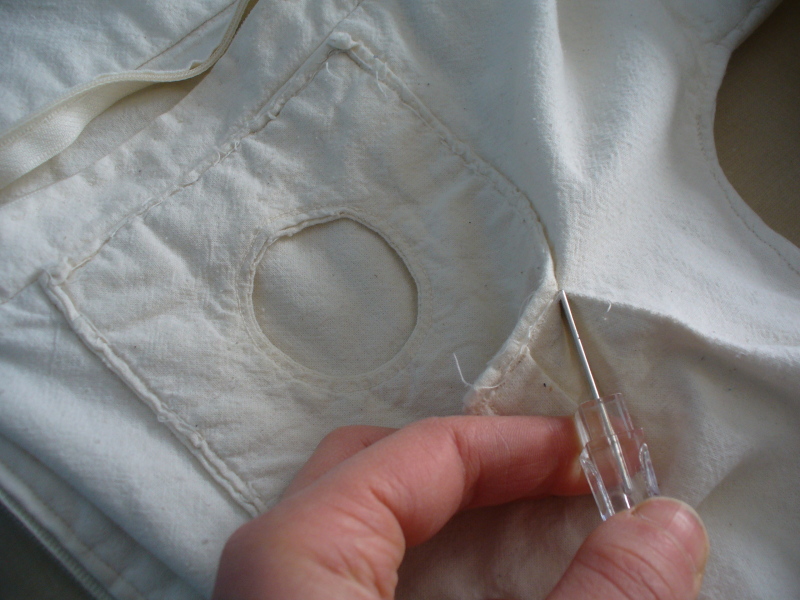
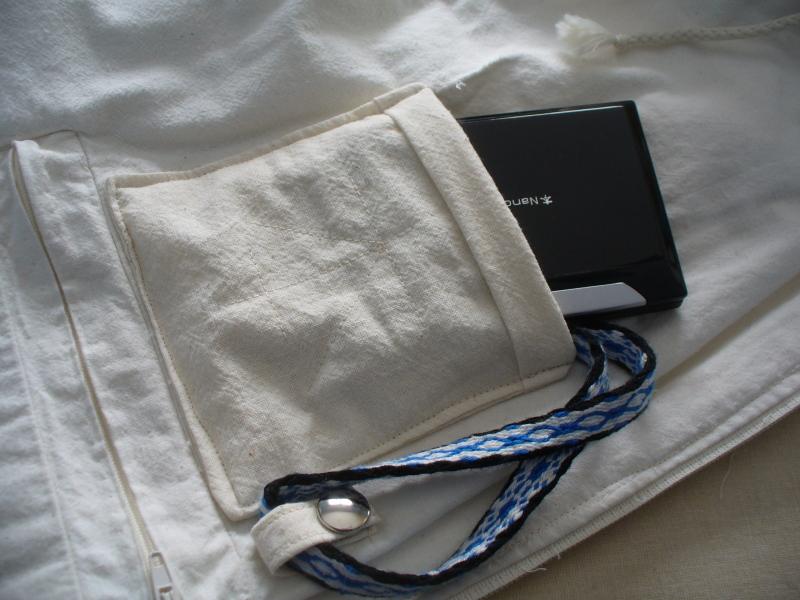
After a few years, the original zipper broke and I had to open the front seams to change it; I used the opportunity to remove an old applied inner pocket that was meant to hold a certain portable music device and add a free hardware sized pocket in its place. I've also added a small hook, closed with a pressbutton, to secure the lanyard and prevent the device from falling.
Pattern
The basic vest pattern can be easily drawn from the following measurements:
- from the base of the neck to the bottom of the finished vest;
- the widest measurement between bust, waist (actually, belly) and hips;
- from the base of the neck to waist;
- back width, from arm to arm just under armpits;
Back and front

On a big sheet of paper, trace a rectangle high as the desidered lenght (1) and wide as (2) / 4 + 3 cm. From A measure (3) + 1.5 cm toward B, let it be E; from E measure (3) / 2 toward A, let it be F, and again (3) / 4 from F toward A, let it be (G). From E, F and G trace horizontal lines toward e, f and g respectively (waist line, bustline and quarterline). From A measure 7-9 cm toward D, then 1.5-2.5 cm upward, mark a and unite it to A with a curve (neck).
Mark (4) / 2 from F to f, let it be H, and from A to D, let it be h, trace the line Hh; call I the intersection between Gg and Hh. Measure 1 cm from I toward G, let it be J. Measure 6 cm from f toward C, let it be K
Now make a straight line ah and a curve hJK and complete the pattern.
About 6 cm above F, place the upper left angle of a rectangle 12 x 33 cm (pocket position).
On another sheet of paper, trace a rectangle high as the desidered lenght (1) - 3 cm and wide as (2) / 4 + 3 cm for the front. From A measure (3) + 1.5 cm toward B, let it be E; from E measure (3) / 2 toward A, let it be F, and again (3) / 4 from F toward A, let it be (G). From E, F and G trace horizontal lines toward e, f and g respectively (waist line, bustline and quarterline). From A measure the same amount of the back toward D plus 1 cm, mark and let it be a; mark the same lenght from A toward B and unite it to a with a curve (neck).
Mark (4) / 2 from F to f, let it be H, and from A to D, let it be h, trace the line Hh; call I the intersection between Gg and Hh. Measure 6 cm from f toward C, let it be K. Measure 1.5-2.5 cm from H toward I, then 1 cm horizontally toward the DC line; call it J.
Now make a straight line aJ and a curve JIK and complete the pattern.
Pocket positions on the front are still missing from the image, and I'm not really satisfied with the position of the upper pockets: the following should be fixed, but has not been tested.
From 6 cm below the Ff line, centre a 10x12 rectangle for the upper pockets, both internal and external
From the bottom line, 2cm from B, place a 18x24cm rectangle for both the external and the internal A5 pocket.
For the external lower applied pocket, start in B, measure 22 cm toward A, let it be w then 14 cm toward the DC line, call it x. Measure 4 cm from C toward B, call it z, 8 cm from z toward AD, call it y.
As a variant, you can place a last rectangle as wide as BC - 4 cm, 12 cm high, for the position of an external applied pocket.
Hood

This instructions give a pattern for a small hood that fits a bit tigh my own size of vest and head. Since the pattern was based mostly on guesswork and knowdlege of the basic shape of a hood, I strongly suggest that you make a mock-up to check both the hood size and the lengh of the line that will be attached to the neck of the vest.
To make a deeper hood, I think that you should make an higher rectangle, move G a few cm back, and maybe move it a little higher. (Disclaimer: I didn't test this change.)
Trace another rectangle, 35 cm high and as wide as 2.5 times the Aa distance in the front pattern. Measure half this width from C to B, measure 5 cm upward and mark E. Measure 6 cm from B to A, measure 2 cm to the right and mark F. Measure 16 cm from A, measure 2 cm to the left and mark G
Trace a curve CEF as long as half the neck width of the front and back, then a curve FGD, and finish the pattern with a straight line DC.
Pockets
Profiled pockets are made with two rectangles as wide as the desidered pocket plus stitching allowance; one should be high as the desidered height plus 16 cm plus stitching allowance (this one will build the profiles), the other the desidered height plus 2 cm plus stitching allowance.
The lower front applied pocket can be taken from the line marked on the front pattern, adding stitching allowance as usual.
For the upper front applied pocket, make a 14x12 rectangle and cut 4 cm from the lower angles as in the pattern; add 2cm stitching allowance. For the flap make a 10x6 rectangle, cut the lower angles from 3 cm, and add 2cm stitching allowance.
