Infrared Gloves
At the local lab we're trying to install a wiimote whiteboard and we'd like to try some alternative to the usual pen-shaped pointers. These gloves can be used as a direct replacement of conventional passive pointers, but we hope that in the future they could be used as a multitouch/multipointer input.
They use an infrared LED on the index finger that is activated by pressing a pushbutton (or otherwise close a contact) on the side of the middle finger. The LED points toward the wiimote, so that it can be used also on surfaces that don't reflect IR very well, such as computer screens.
This is still work in progress.
Making of
We are still working on making the gloves: right now only the battery holder is ready.
Battery holder
The battery holder is made from some scraps of non-fraying fabric, with rivets and metal buttons for contacts. One version works also as a pushbutton, with contact between thumb and middle finger required to turn the LED on; the other version simply provides power when closed.
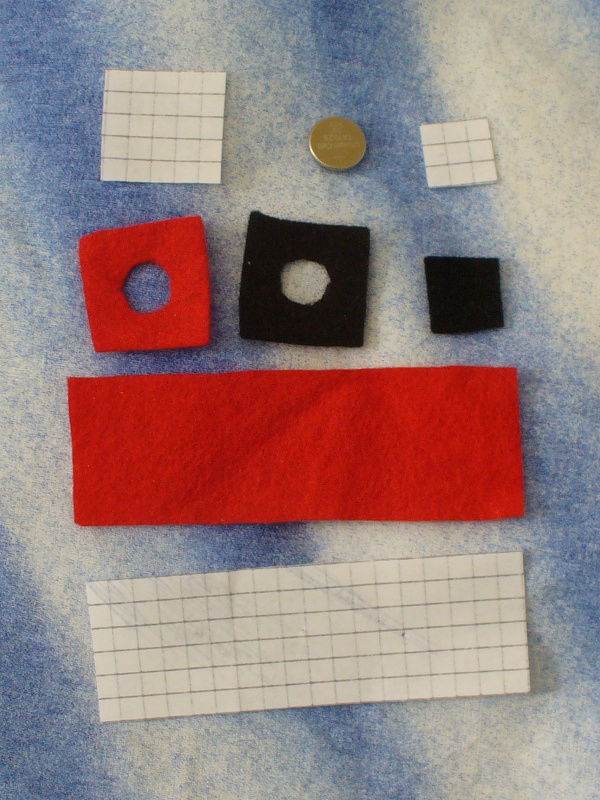
For the pushbutton version you'll need:
- red non-fraying fabric: one rectangle 24x72 mm and one square 20x20 mm;
- black non-fraying fabric: one square 20x20 mm and another 12x12 mm;
- 2 rivets;
- 1 button;
- 2 pieces of electric cable, some 10cm long.
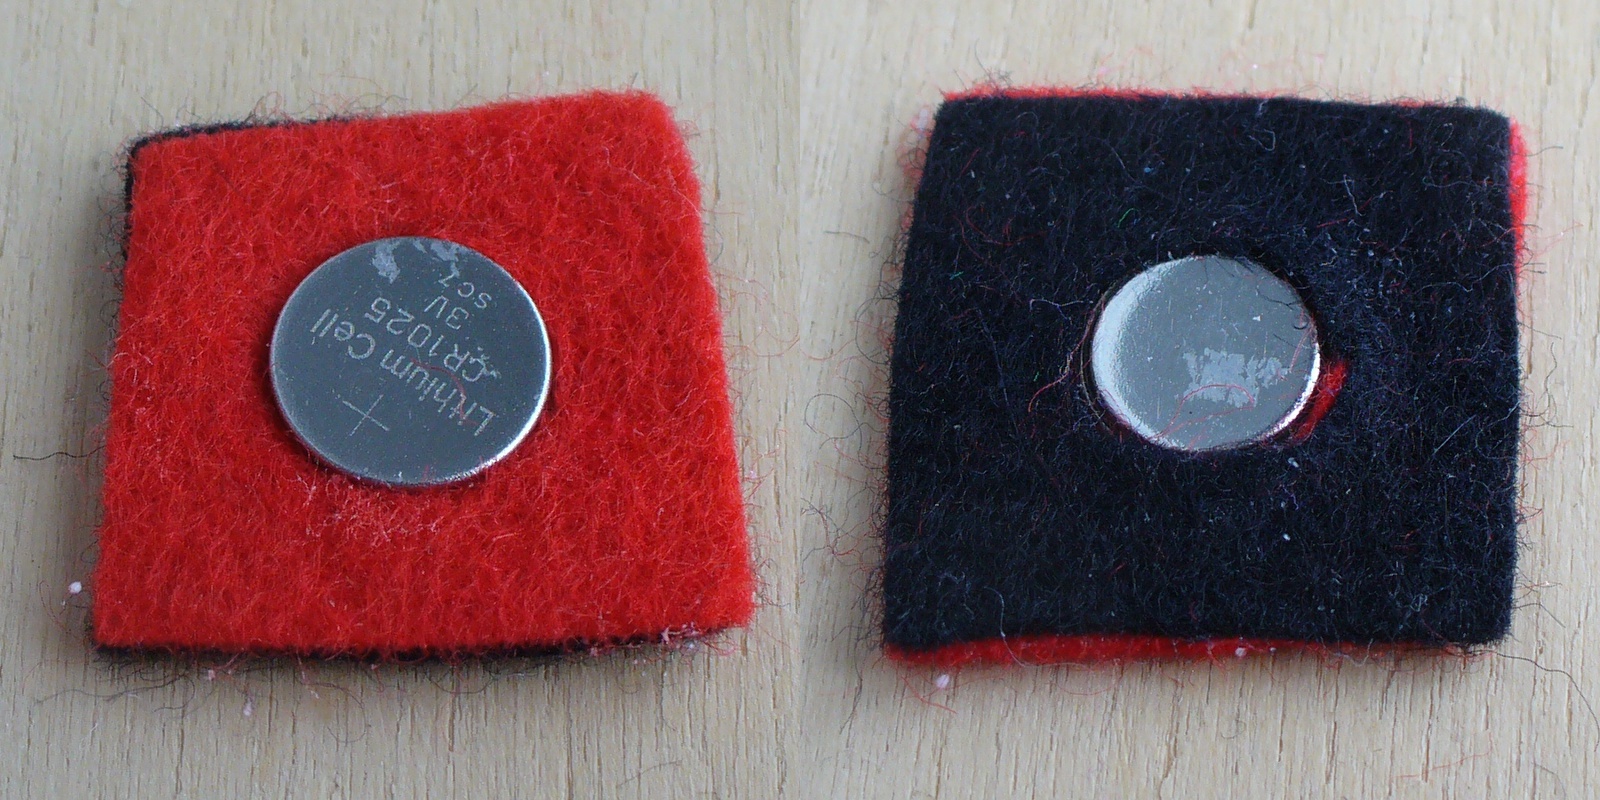
Cut an hole slighty smaller than your battery in both 20x20 fabric squares, then glue them together and leave to dry with the battery in it, so that it takes the proper shape.
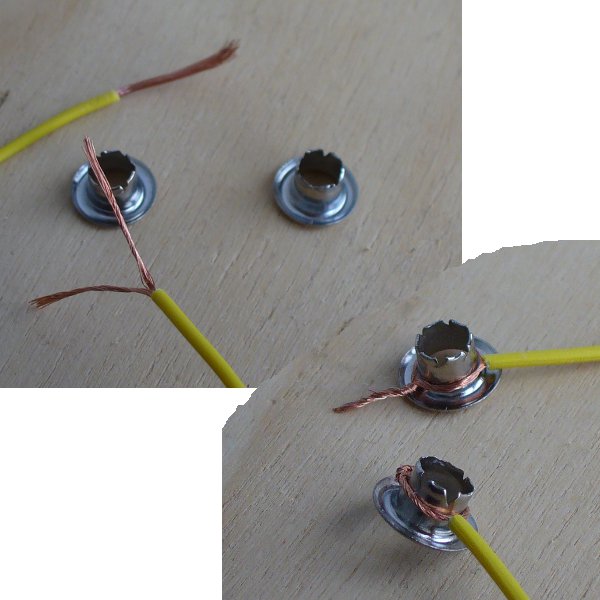
Peel about 15mm on one end of both lenghts of electric cable, divide the copper strands, wrap it around the rivets and attach them in the middle of both remaining pieces of fabric.
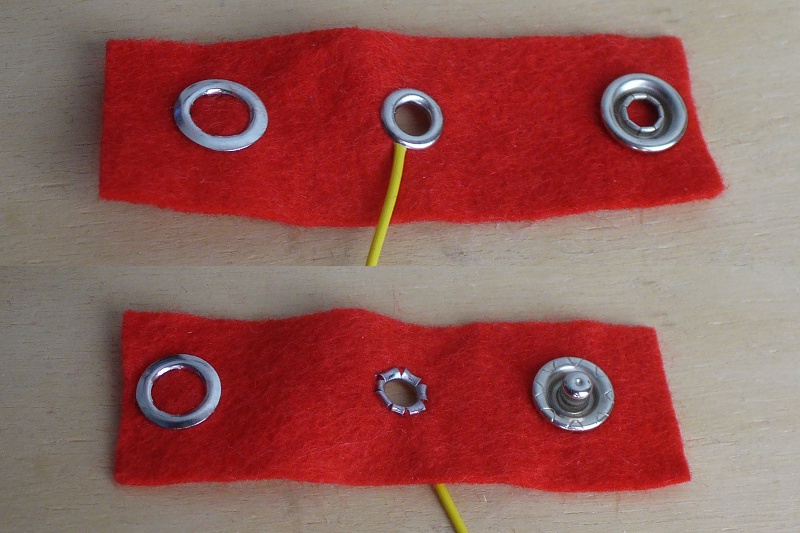
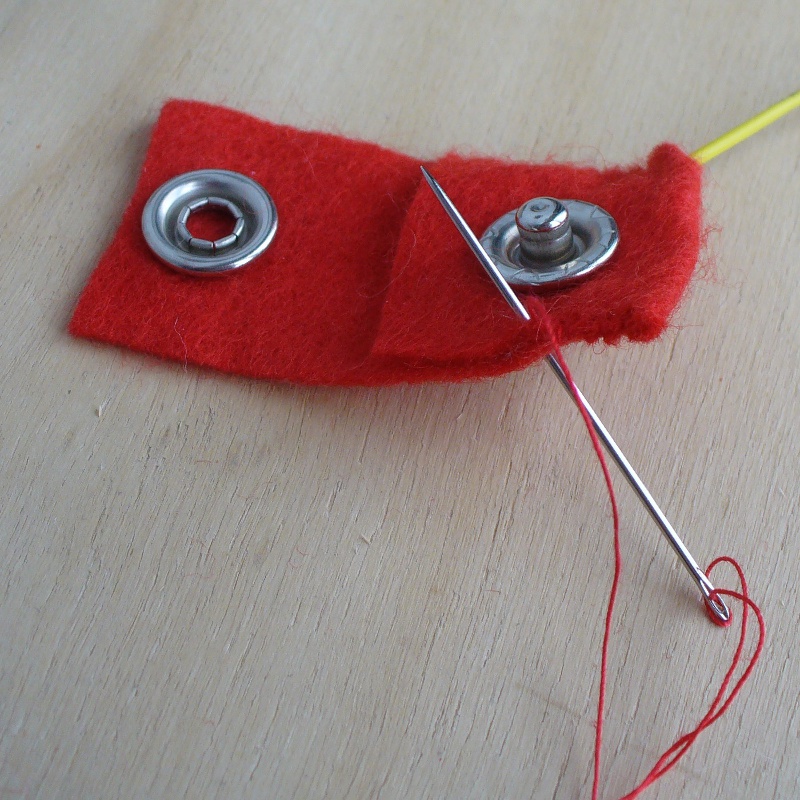
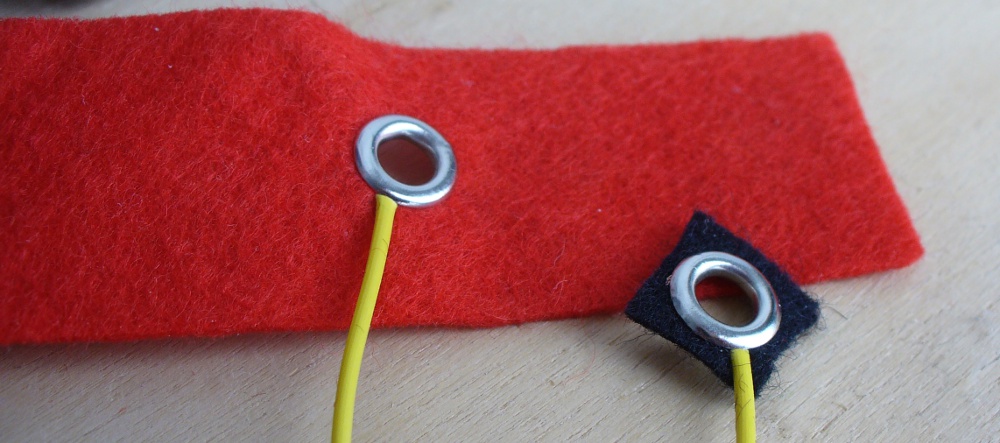
Attach the buttons on the rectangle of fabric, fold the lower third and stitch the sides so that it forms a pocket.
Test the battery adapter to check if it fits in the pocket and trim it as needed. If you're using wider batteries you can skip it altogether and directly insert the battery in the holder.
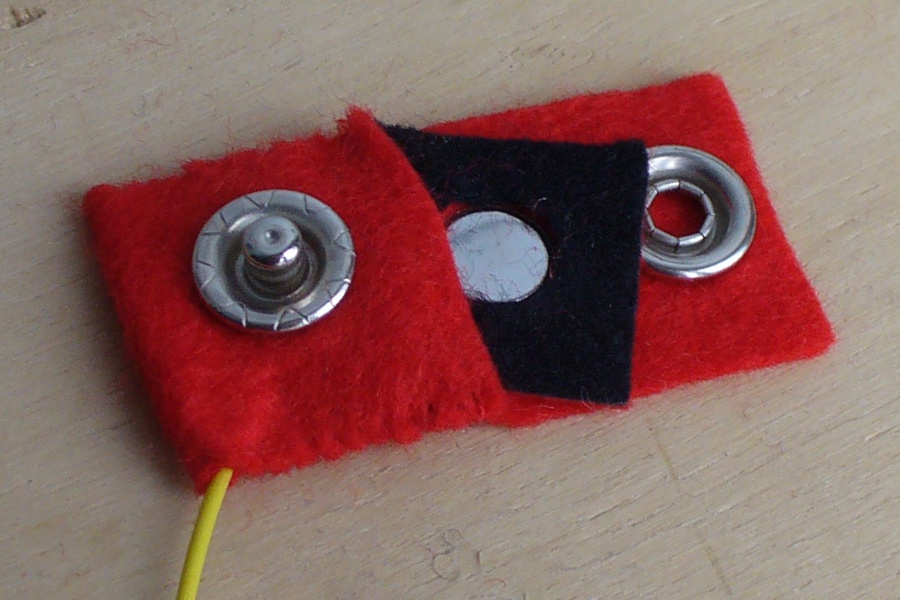
You can now attach the battery pocket on the middle finger of the glove and the contact rivet on the thumb.
The simpler variant doesn't use a contact on the thumb, but requires that a cable is wrapped around the top part of the button instead of a rivet. It should then be attached to the back of the glove.
