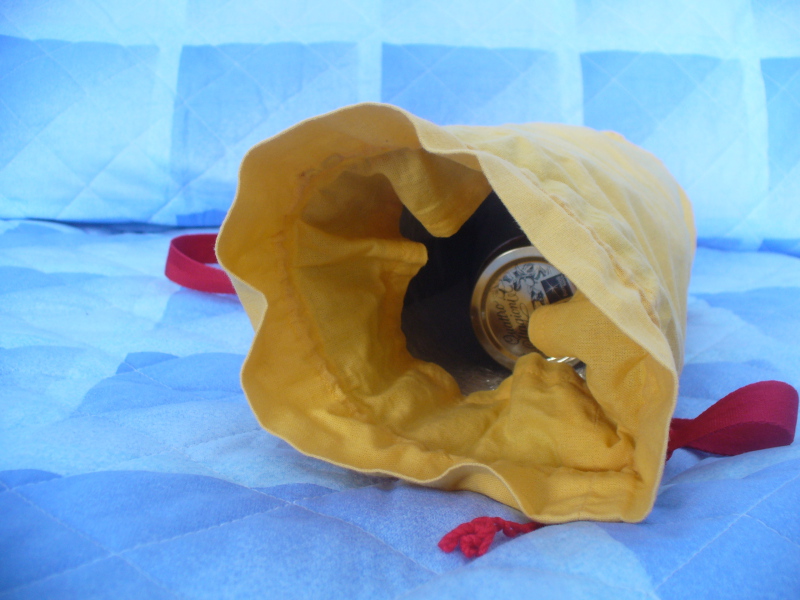
Insulated Bottle Holder
I was looking for a thermos bottle to carry water in the summer, but plastic ones tend to look cheap and low-quality, and I don't like the taste of the metal ones available in the upper range. Meanwhile, I've also started do buy raw milk from a few vending machines, and I've found myself carrying glass bottles precariously wrapped in bubble wrap and stuffed in a thermal bag. As a solution to both problems, I've decided to build a bottle holder that provides both cushioning and some thermal insulation, allowing easier carring of glass bottles.
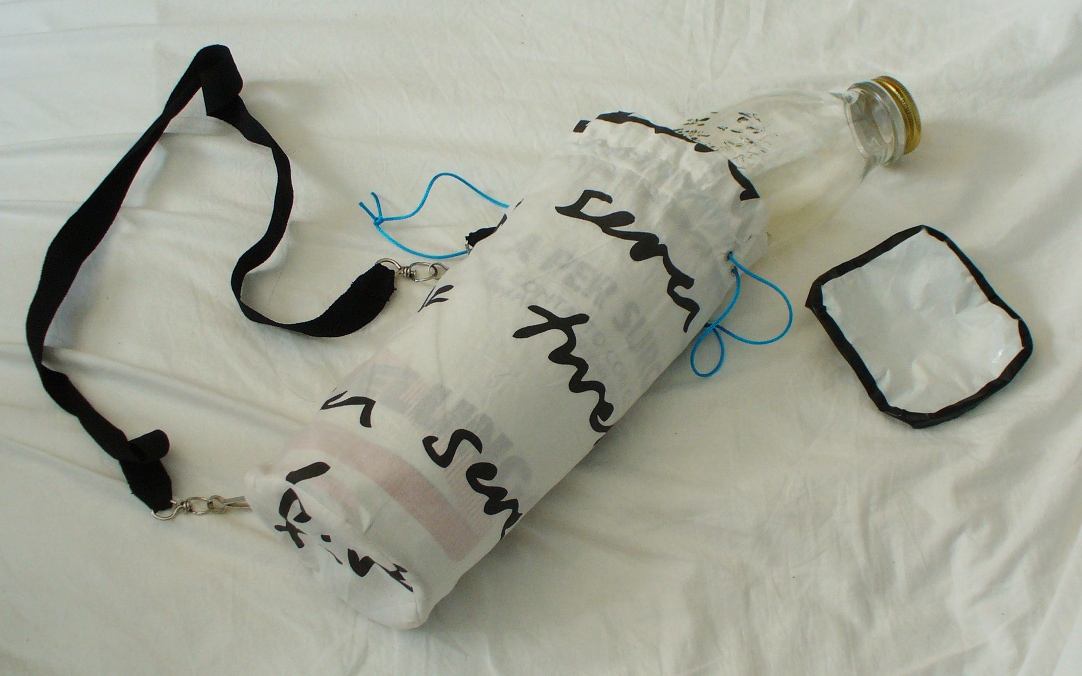
I've gone for a multiple layer approach, mostly with reused materials: an inner layer of bubble wrap provides cushioning and a little insulation, which is mostly given by a layer of materials from an old thermal bag from a supermarket. Leaving the reflecting side of the thermal bag on the outside would probably be best for insulation, but I needed something that would be easily carried, as well as some structural reinforcement, so I've added an outer layer of light-coloured cloth.
The cloth and plastic parts are independent, so that the former can be machine washed, and the latter either wiped or cleaned under running water.
I've finished my first bottle holder and I plan to do a few more, possibly with matching furoshiki for my bento boxes; I will add further pictures as I make them.
Gallery
Pattern and instructions
Materials:
- A glass bottle;
- an old thermal bag;
- bubble wrap;
- 2.5 cm high duct tape
- light-colored cloth;
- matching stitching thread;
- cord;
- eyelets;
- Gros grain ribbon;
- D-rings.
Tools:
- Scissors;
- sewing tools.
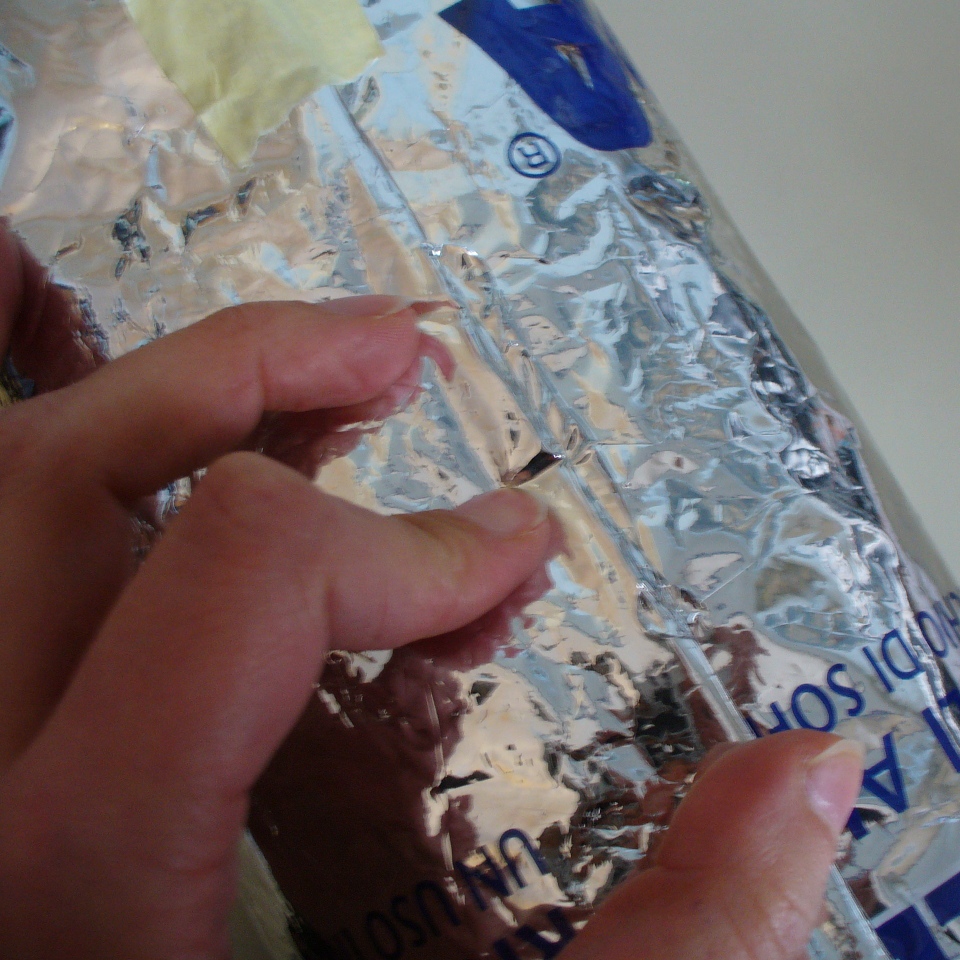
Bubble Wrap and Insulating Layer
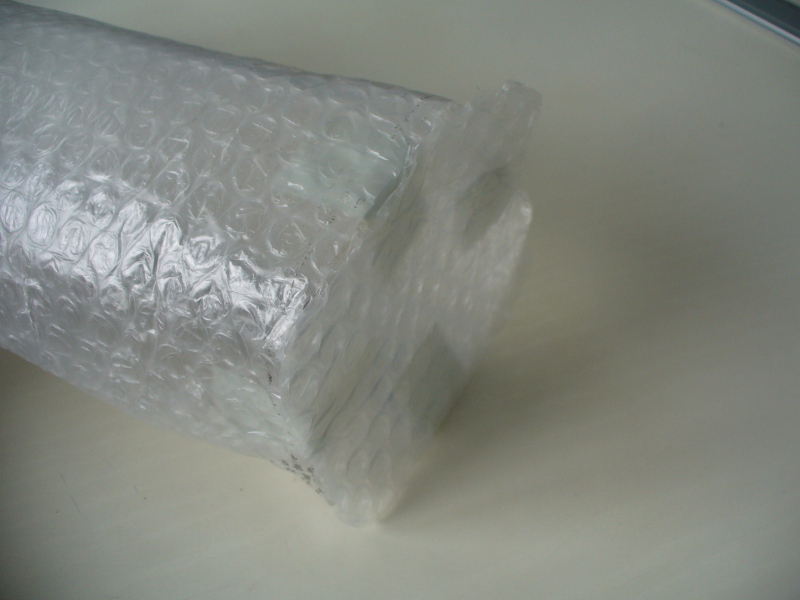
Cut a rectangle of bubble wrap as high as your bottle plus 5 cm and wide enough to wrap around it with a couple cm margin; cut a base from another piece of bubble wrap so that it fits inside the side cilinder.
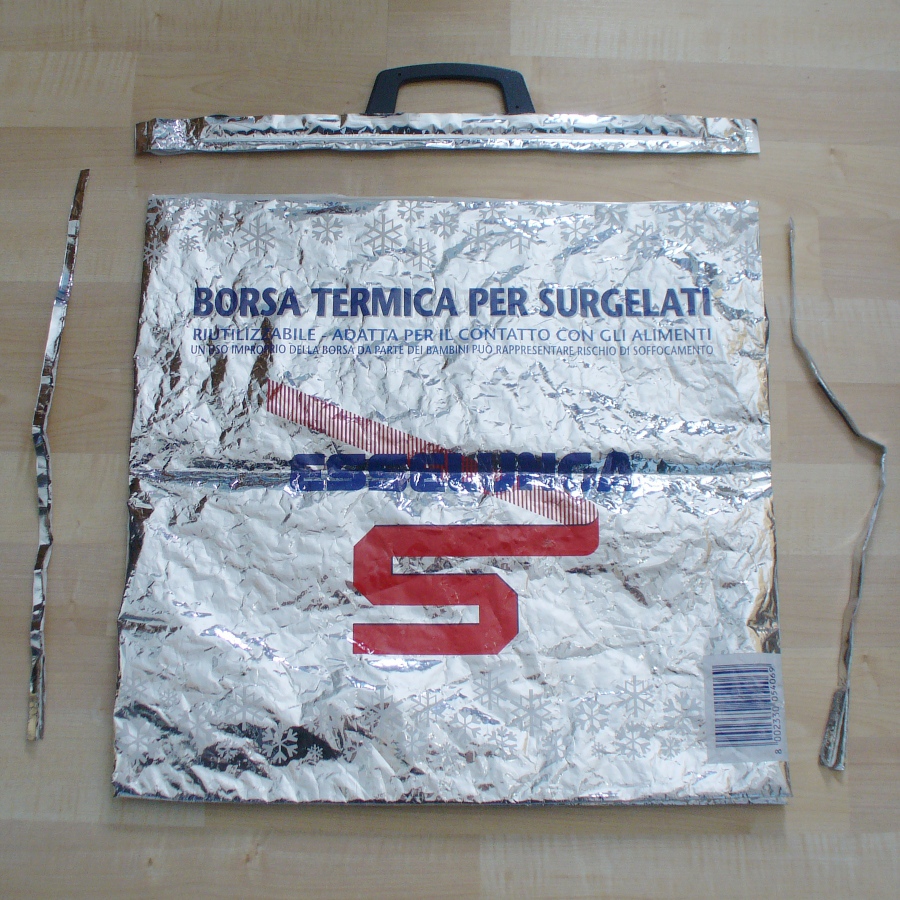
Cutting the thermal bag
Cut the sides and top of the thermal bag, unfold it open and cut the same amount from all of its layer as you cut from the bubble wrap.
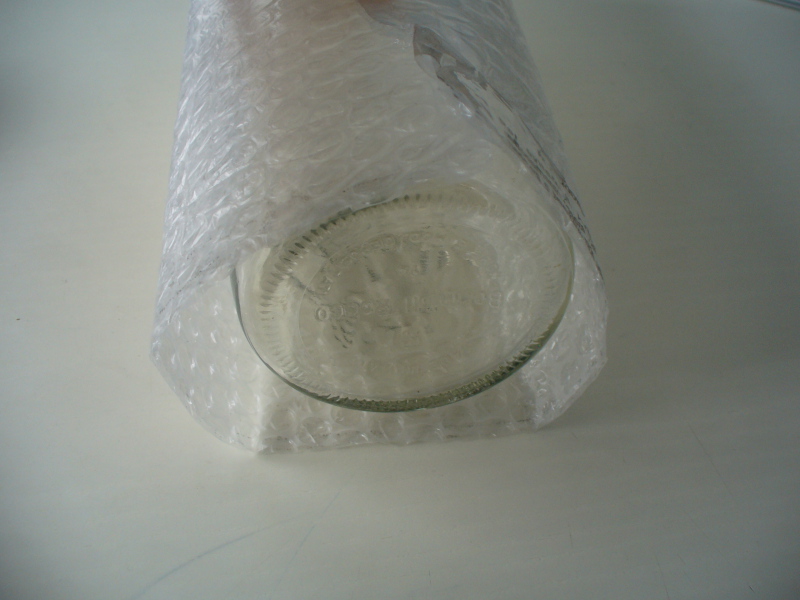
Checking bubble wrap for size
Added insulation
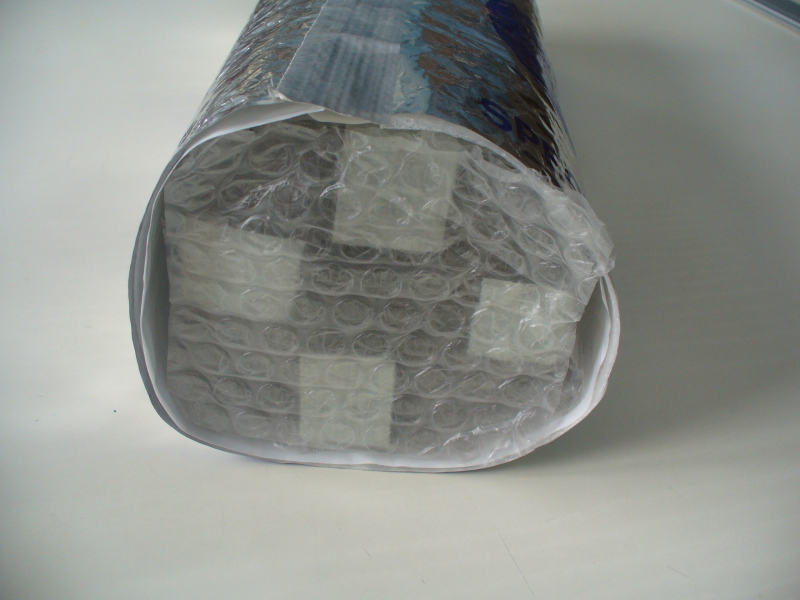
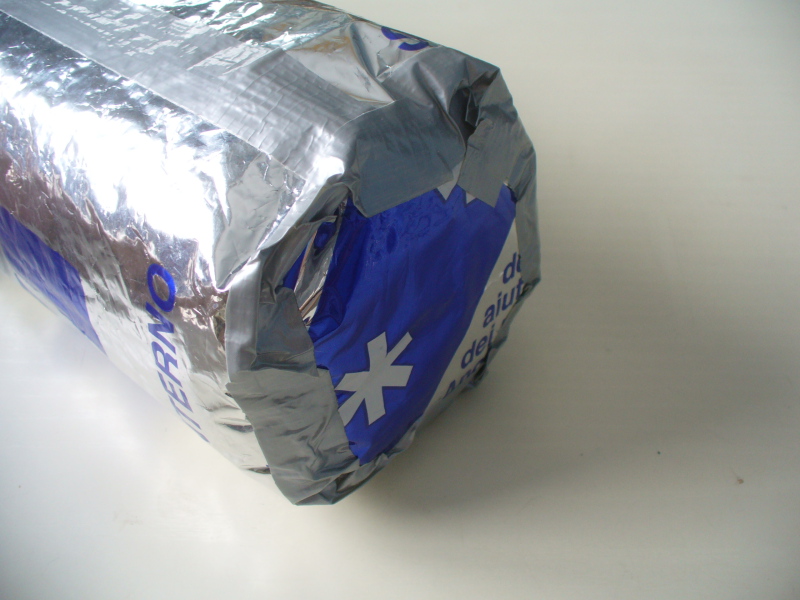
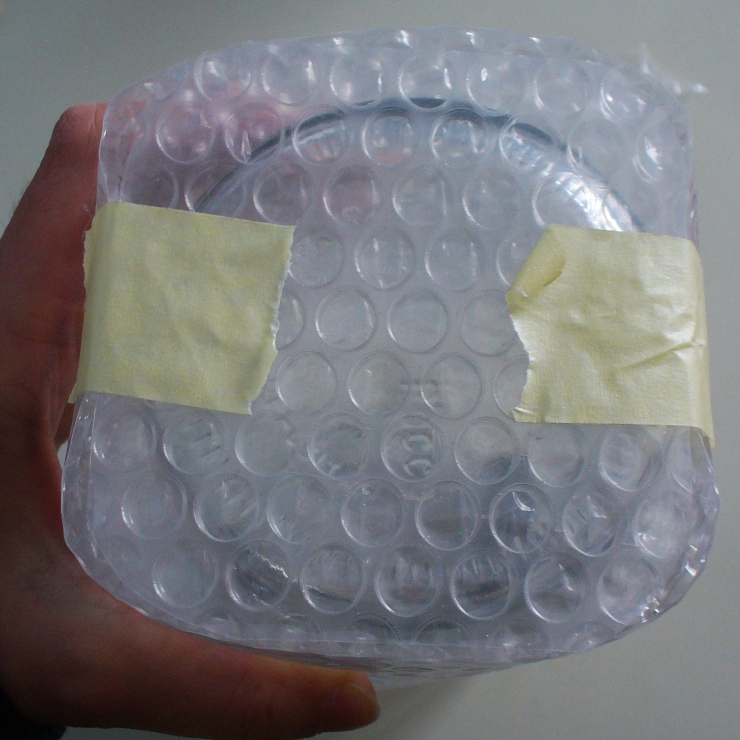
Close the bubble wrap cylinder with a strip of duct tape on the inside, wrap the insulating layer all around and close it with another strip of duct tape, this time outside.
Fixing the bubblewrap bottom

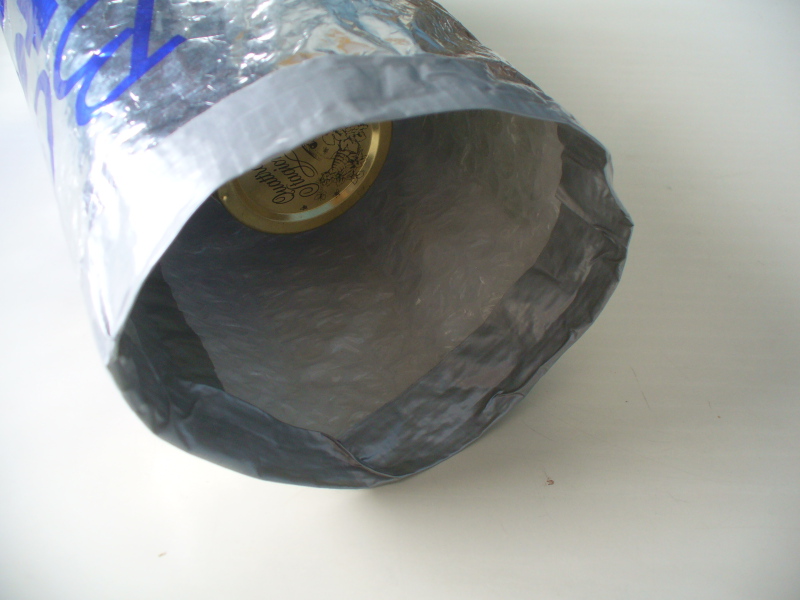
...and then the insulation part
...bottom done!
Cut four pieces of duct tape about 5 cm long, place them in the inner part of the cylinder at equal distance, use them to keep the bottom circle of bubble wrap in place. Add the circle of insulating material, close the bottom with a circle of duct tape all around.
Regular 5 cm duct tape to finish the open edge.
Close the top opening with duct tape.
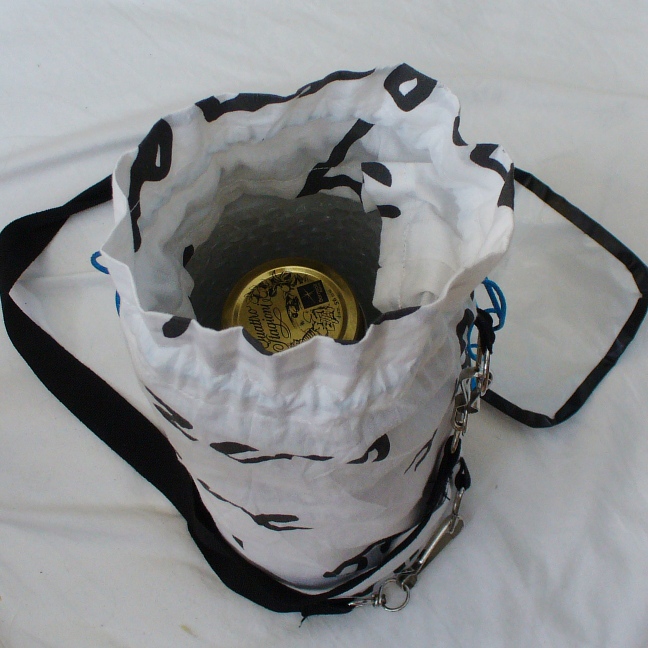
Cut another circle in the insulating materials, a little wider than the cylinder and close its borders with duct tape; this can be placed on the top of the bottle to keep it cooler.
This is enough to protect the bottle from some mechanical damage and heat, but it's not really confortable to carry; the next step will be to add a cloth wrapper and carrier.
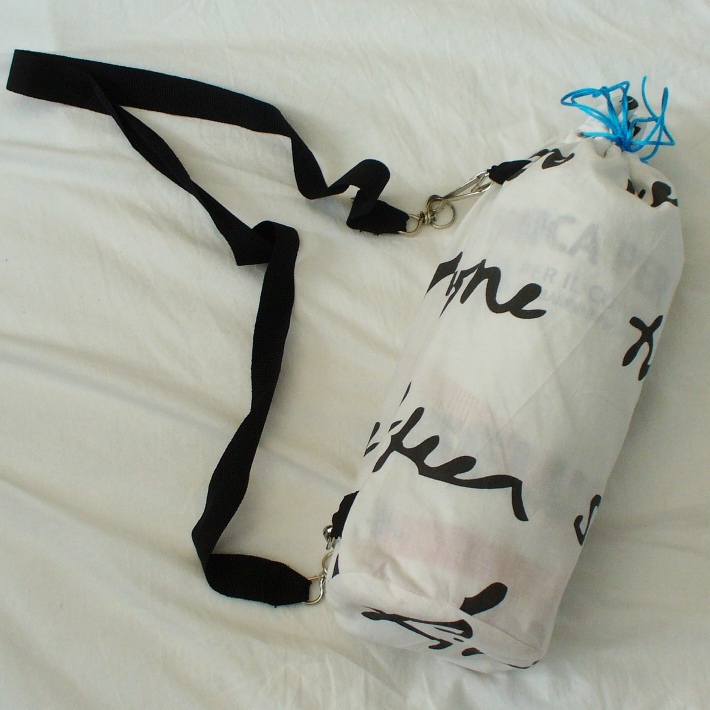
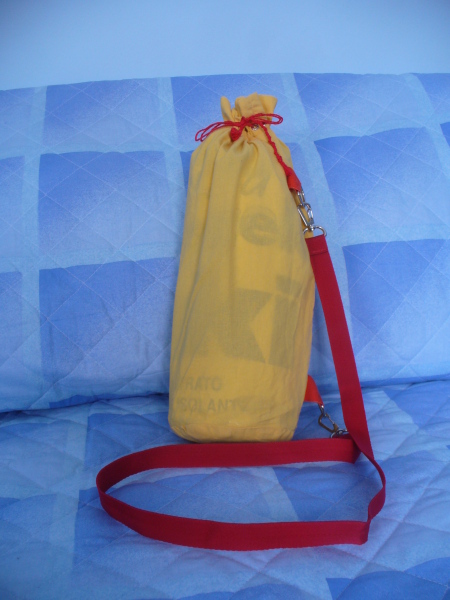
Cloth layer
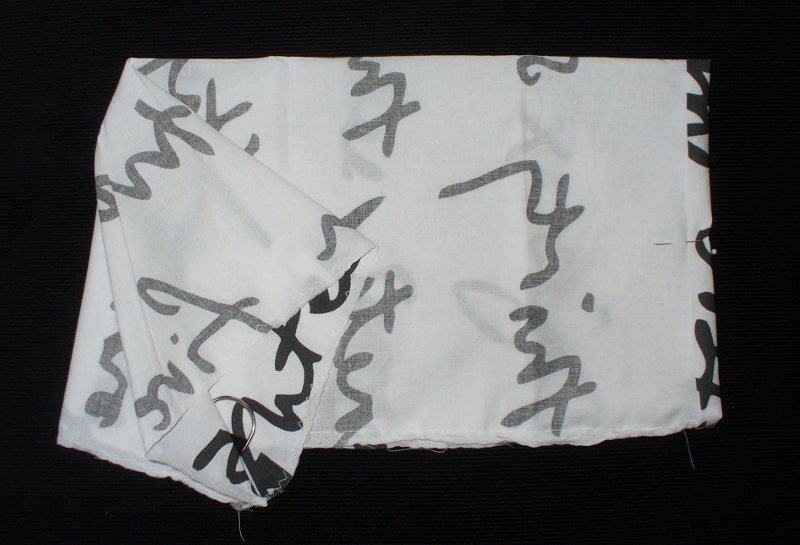
For the cloth outer layer cut a rectangle 16 cm higher than the insulating layer and as wide as needed to fit around it, plus seam allowance. Cut a circle with the resulting circonference for the base. Cut two pieces of gros grain about 6 cm long.
Fold the rectangle, wrong side outside, insert the gros grain with the D-rings at about 2 cm from the bottom and at bottle height and sew the side seam.
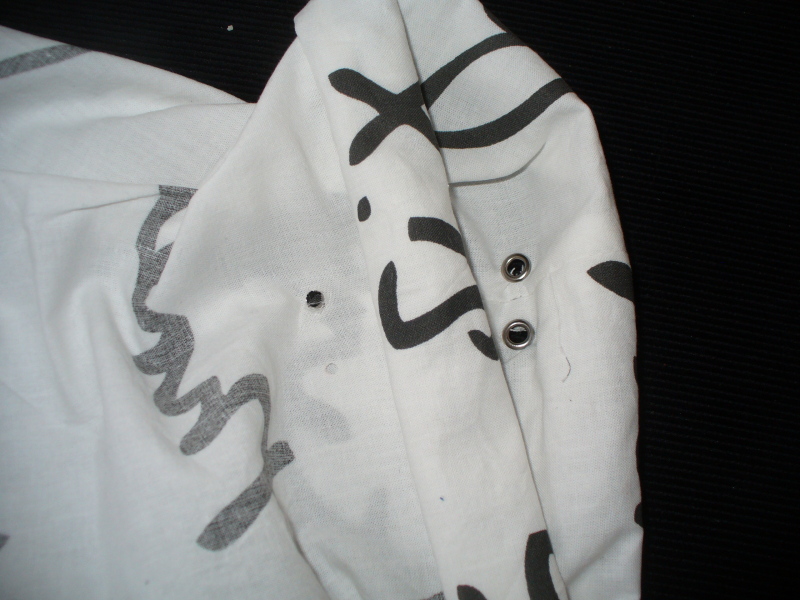
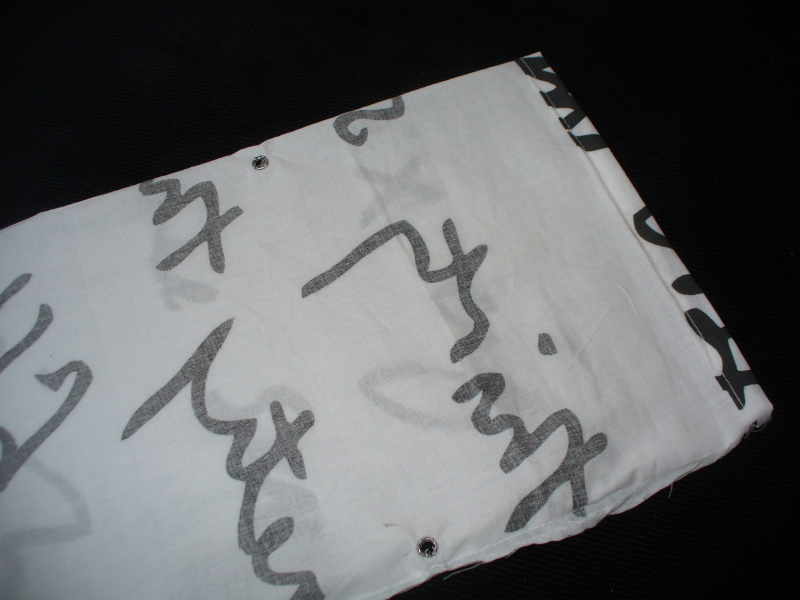

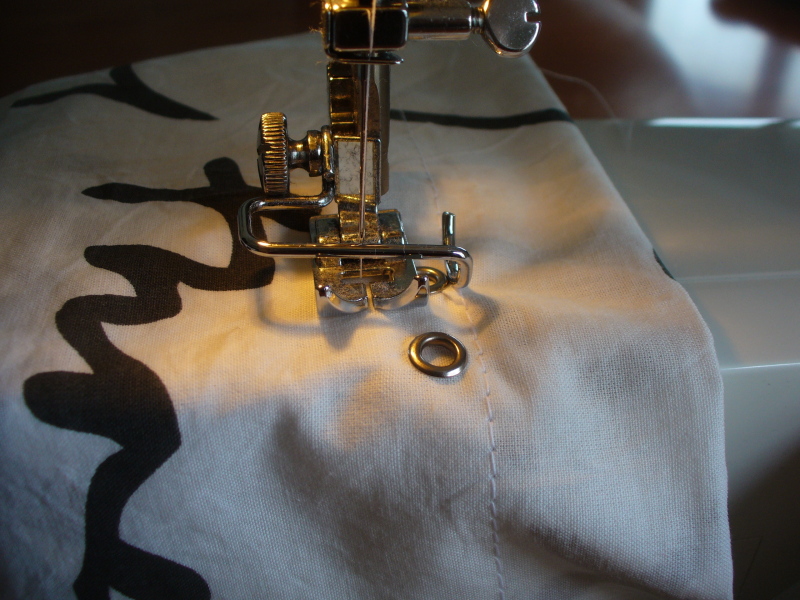
Hem the top, then place 4 eyelets at about 14 cm from the top, two near the side seam and two facing them. Fold the cloth so that you have a flap about 10 cm long on the inside and sew it in place with two seams above and below the eyelets, creating a groove for the cord. Finally, sew the bottom and insert the insulation in the bag.
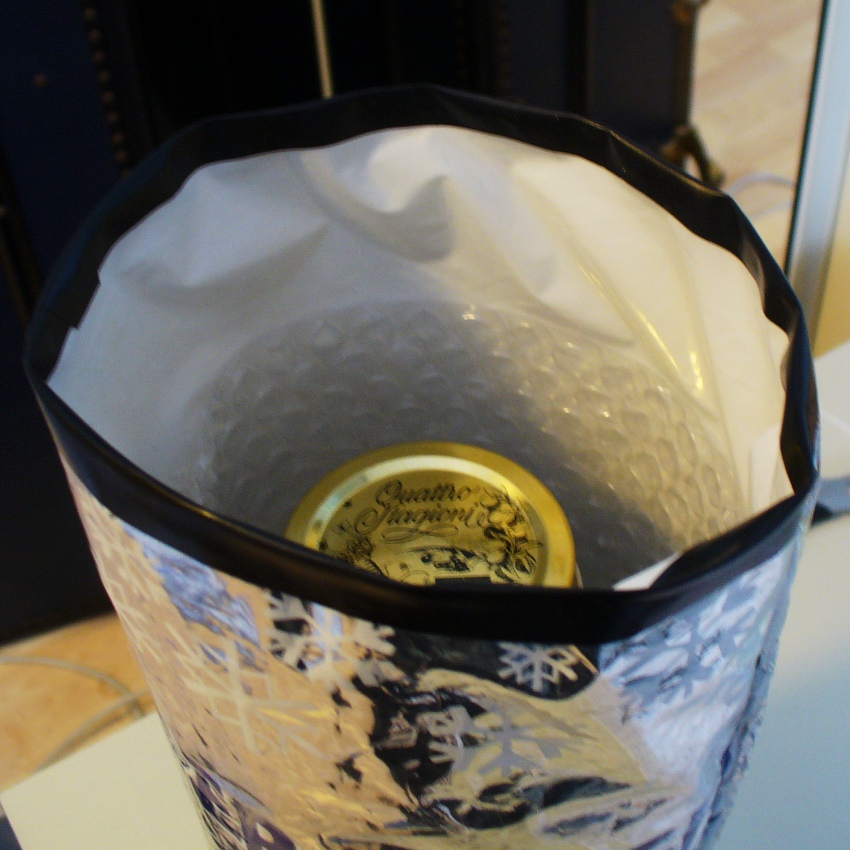
Pattern for a Quattro Stagioni Bottle
For the common 1 litre "Quattro Stagioni" bottle from Bormioli Rocco I've used the following sizes.
- Bubble wrap:
- 36x30 cm
- 10x10 cm with rounded corners
- Insulating material:
- 36x30 cm
- 10x10 cm with rounded corners;
- 12x12 cm with rounded corners.
- Cloth (including seam allowance):
- 42x50 cm
- 15x15 cm with rounded corners
Pattern and instructions, old version
This is the old version using heat glue, not very stable.
Materials:
- A glass bottle;
- an old thermal bag;
- bubble wrap;
- electrical tape;
- light-colored cloth;
- matching stitching thread;
- cord;
- eyelets;
- Gros grain ribbon;
- D-rings.
Tools:
- Scissors;
- masking tape;
- heat glue gun;
- sewing tools.
Bubble Wrap Layer

Cut a rectangle of bubble wrap as high as your bottle and wide enough to wrap around it with a couple mm margin; cut a base from another piece of bubble wrap so that it fits inside the side cilinder.
Remove the bottle from the bubble wrap, keep the cylinder closed with a couple of pieces of masking tape on the inside and seal it close with a generous amount of heat glue; as soon as it has cooled enough remove the masking tape and seal the base in the same way.
Insulating Layer
Check that the bottle fits inside the bubble wrap and then you can start working on the insulating layer. Cut the sides and top of the thermal bag, unfold it open and cut another rectangle from all its layers, this time 5 cm higher than the bubble wrap and as wide as to fit around the bubble wrap cylinder.
Align the seal in the bubble wrap in the middle of the thermal layers, close the insulating cylinder and seal it with another generous application of heat glue, taking care not to leave holes where air can enter between the layers. As soon as it has cooled down add the bottom, again sealing the layers against air with heat glue.
Close the top opening in the insulating layers with electrical tape.
Cut another circle in the insulating materials, a little wider than the cylinder and close its borders with electrical tape; this can be placed on the top of the bottle to keep it cooler.
This is enough to protect the bottle from some mechanical damage and heat, but it's not really confortable to carry; the next step will be to add a cloth wrapper and carrier.
Cloth layer
As above.
Pattern for a Quattro Stagioni Bottle
as above, but using less bubble wrap:
- Bubble wrap:
- 34.5x24 cm;
- 9x9 cm with rounded corners.
