Componible Backpack
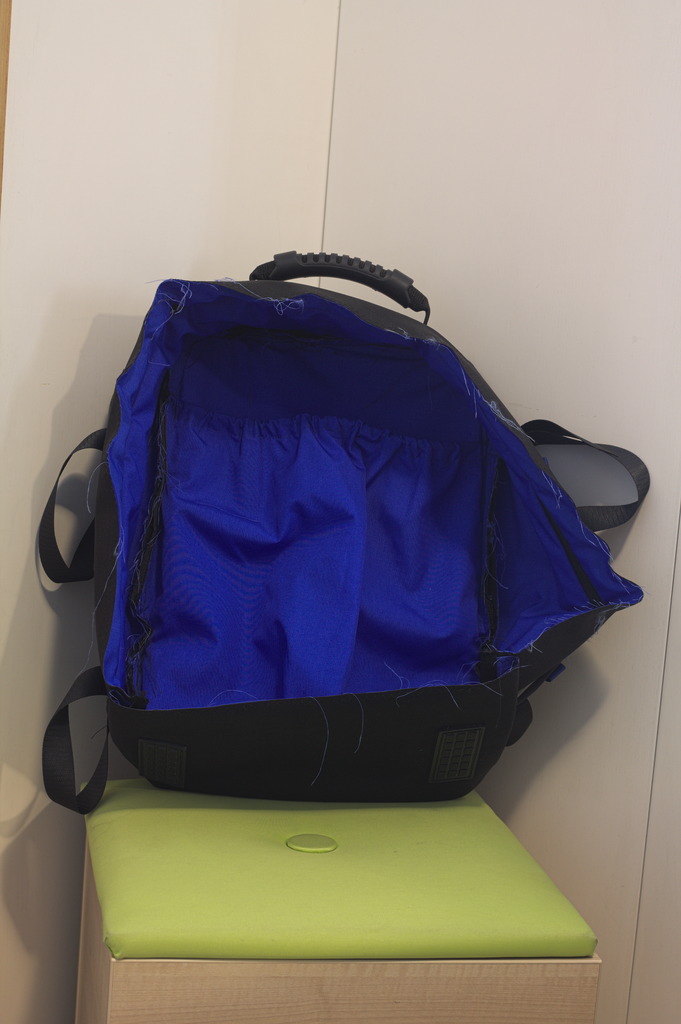
A few years ago I bought a backpack from IKEA made of two backpacks connected by a zipper that promised to be a versatile solution to easily change from carrying a few essential to having room for more things.
Sadly it didn't work: the zipper failed soon and the two parts tended to detach in the worst possible moments, forcing me to carry two separate bags.
I was still somewhat in love with the idea, however, and for a while nursed the idea to make my own backpack by browsing around on MYOG websites and similar dangerous environments, until one day, I stumbled on the molle system knockoffs from china, decided that it sounded promising as a way to keep the various parts together, and started drawing sketches and taking notes.
I started to draw a real pattern and buying materials in august 2017 and finished the main backpack only in late november, as this project was quite a challenge both for my skills and for my home sewing machine, and required a number of breaks (including devoting time to other projects in the meanwhile) to preserve my sanity.
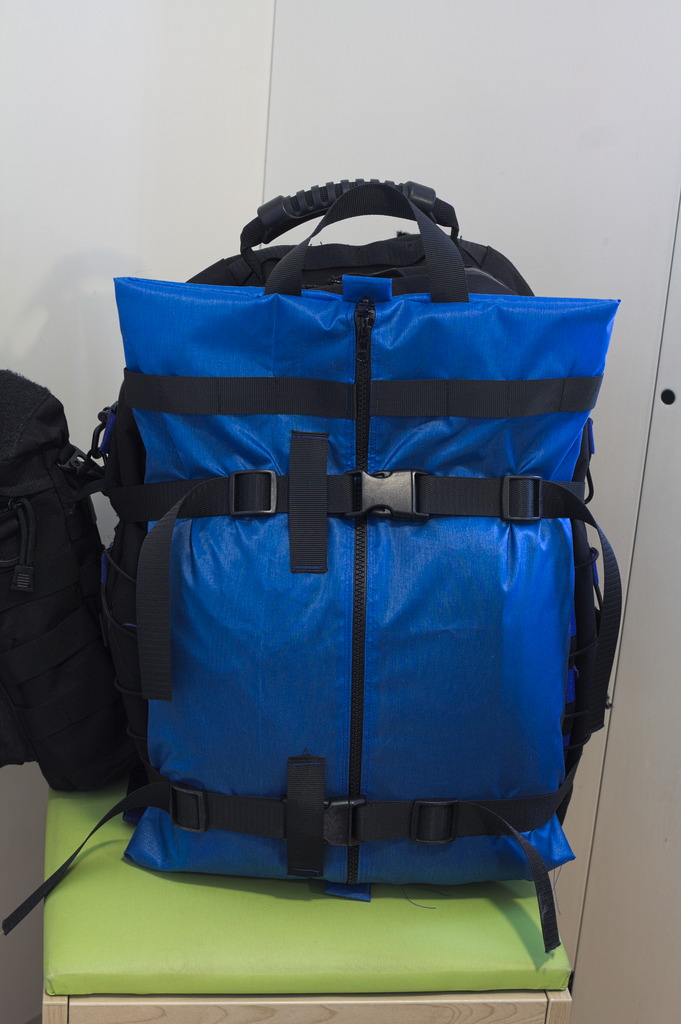
The end result is showing a bit the limits of my skills, but I'm pretty happy with the actual pattern and procedure.
This is, as it is usual for me, a work in progress. I'm currently taking a bit of a break by working on completely different projects, but later I'll add additional components to adapt the backpack to my different usecases.
The pattern and instructions for this backpack are on my new website at https://sewing-patterns.trueelena.org/accessories/bags/modular_backpack_base/index.html
Instructions
General suggestions
Any time coated / water resistant fabric is involved, only use pins in the sewing allowance, and use a long seam (e.g. 4 mm) to minimize holes in the coating and preserve the water resistance. Binder clips are useful to keep things together while sewing, and so is masking tape, depending on the cases. In the pictures you can see what I used in most cases.
When working with webbing and edgebinding measure the amount you need, cut and seal the edges with a flame to prevent fraying.
When sewing TPU-coated fabric sometimes the machine may have issues carrying it; in that case put a piece of tissue paper on the coating while sewing and rip it out afterwards.
Main backpack
You will need:
- 60 cm outer fabric (e.g. coated cordura)
- 70 cm lining fabric (e.g. ripstop nylon or uncoated, lightweight cordura)
- a piece of 3D mesh less than 60 cm x 42 cm
- 10 meters webbing (with my color scheme this would be a bit more than 3 meters in the fabric color and a bit more than 6 meters in the accent color)
- 7 meters twill webbing to bind the raw edges
- 1 meter waterproof zipper plus sliders etc (to make a 90 cm long zipper)
- two pieces of rigid padding about 30 cm x 42 cm; I've used a fabric backed foam
- a piece of heavy padding less than 30 x 42 cm (for the back); I've used 8 mm tick neoprene
- a piece of lighter padding less than 30 x 42 cm (for the shoulder straps); I've used 3 mm neoprene
- 33 cm round or thin elastic
- 1 handle
- termoplastic sewable feet
- 2 ladderlocks
- 2 side release buckles
- heavyweight sewing thread.
One of the pattern files:
- main backpack pattern as a wide svg file
- main backpack pattern as a tiled PDF for A4 paper
- valentina source for main backpack pattern from my git repository
Cut all fabric and lining parts according to the pattern, using the 3 cm sewing allowance. Cut the padding according to the pattern, ignoring the sewing allowances. Cut the rigid padding about 5 mm smaller than the pattern.
I've made a shopping list on the website where I've bought most of the materials with enough to make a main pack plus a thinner add-on (that I haven't done yet). Please note that quantities have been rounded up by the website, and in some cases (e.g. the fabric) you may change it to a lower fractional amounts in the cart; otherwise you will have plenty of leftovers for smaller projects. The foam I've used as a rigid padding is no longer available; you may want to use a rigid sheet and some additional padding.
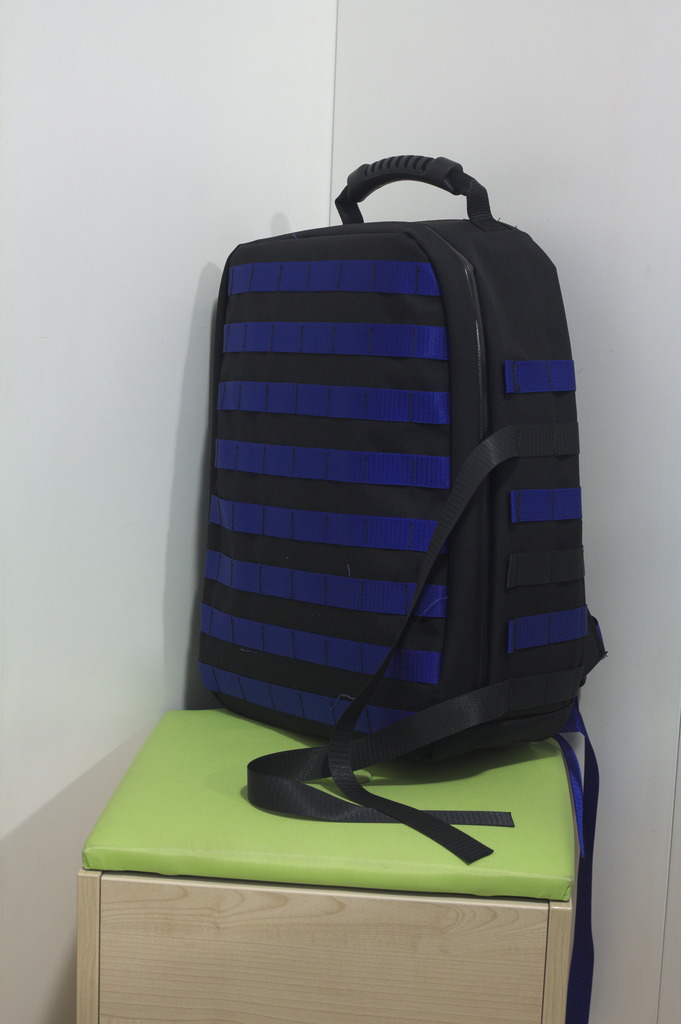
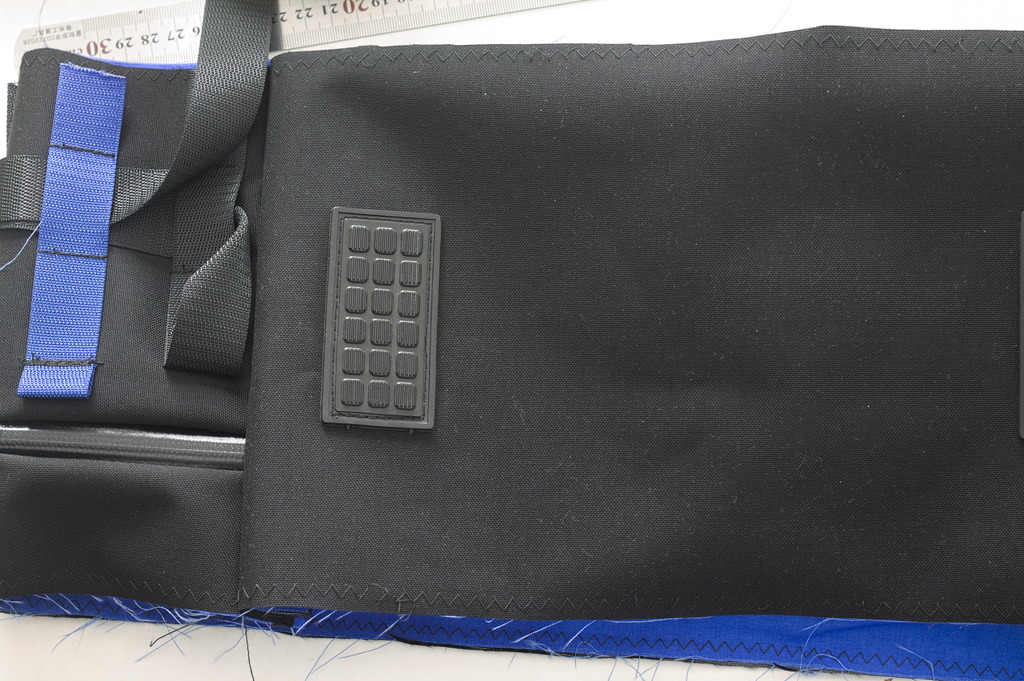
Attach the webbing and other accessories to the fabric panels.
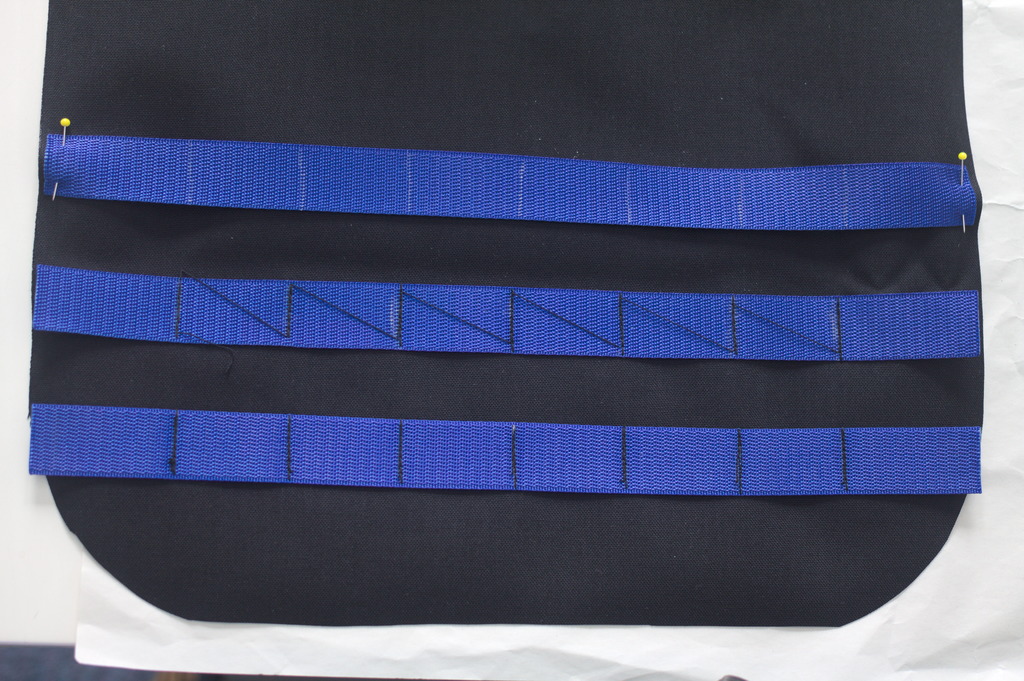
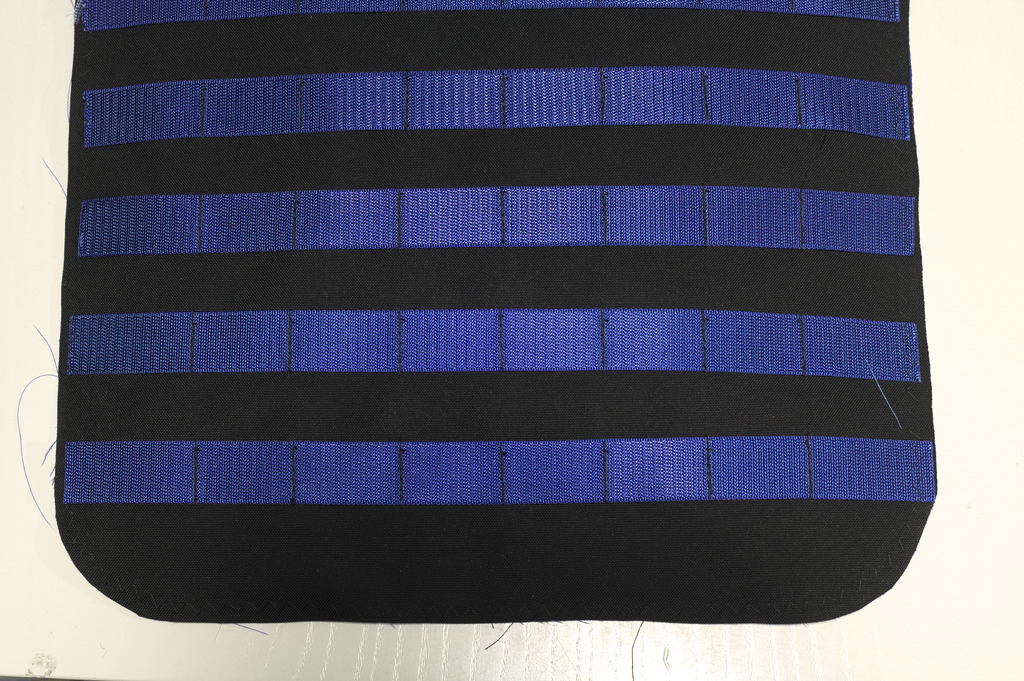
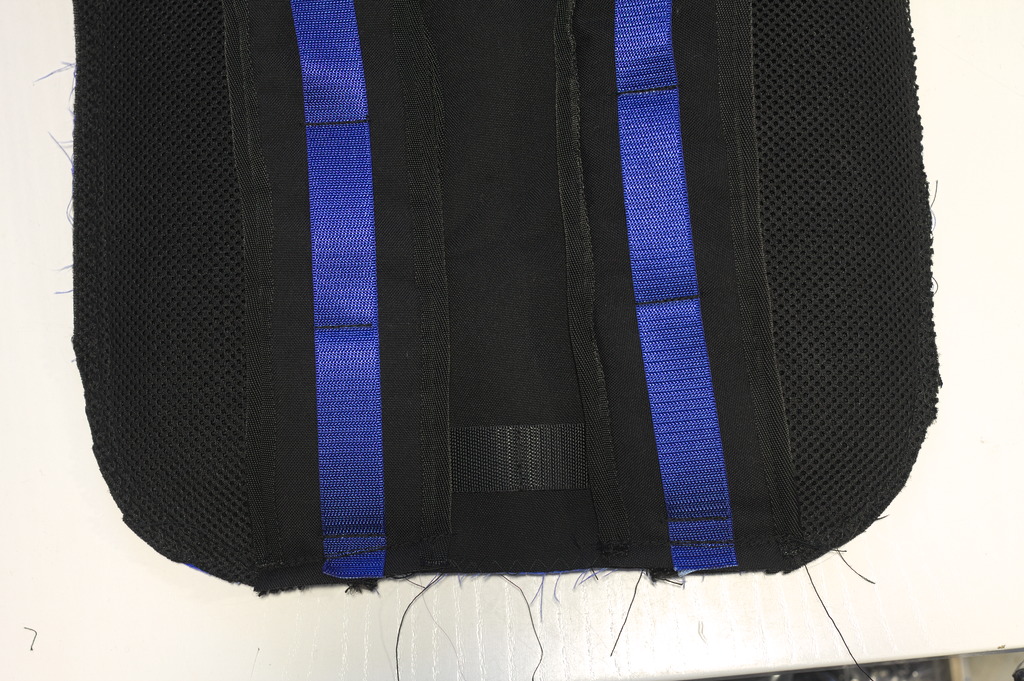
Cut 8 pieces of webbing as long as the front panel is wide, seal their edges; draw transversal lines at the center and every 4 cm to both edges using chalk or a similar disappearing marker.
Put the webbing on the right side of the front panel, starting 5.5 cm from the top, and sew on every mark, backtacking once on every line.
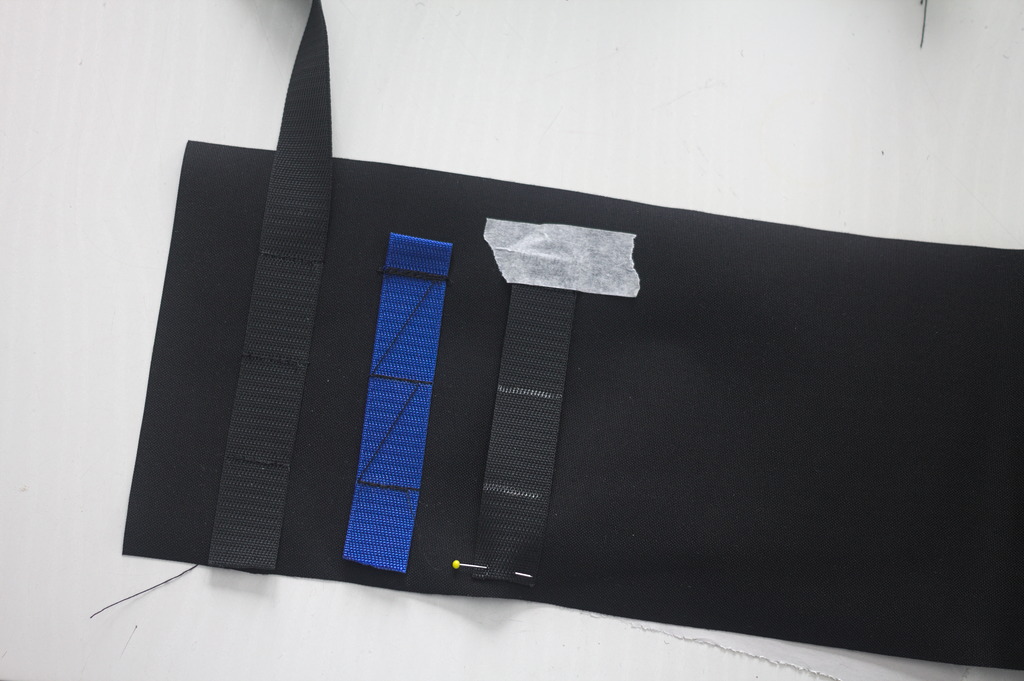
Cut 8 pieces of webbing 15 cm long, seal their edges on a flame, fold down one end 2 cm and sew. Also cut 4 pieces of webbing 60 cm long, seal their edges.
Put this webbing on each side panel, with the unfolded edge aligned to the back edge of the panel and sew every 4 cm from seam near the folded edge. Start 3.5 cm from the bottom with a short piece, then a long one, 3 short, another long and a short one near the top.
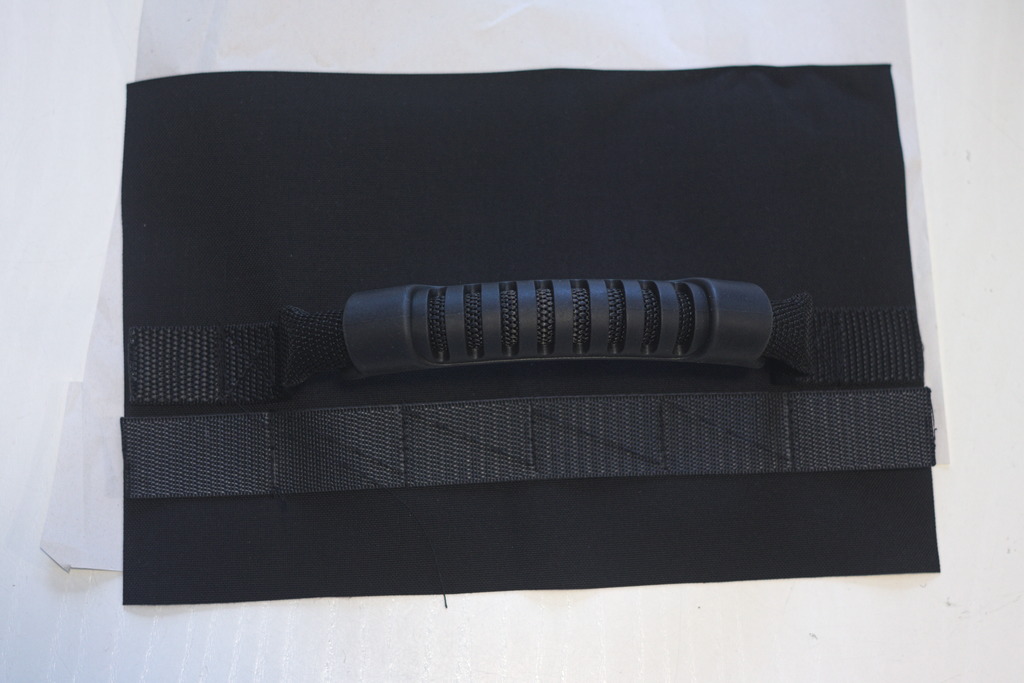
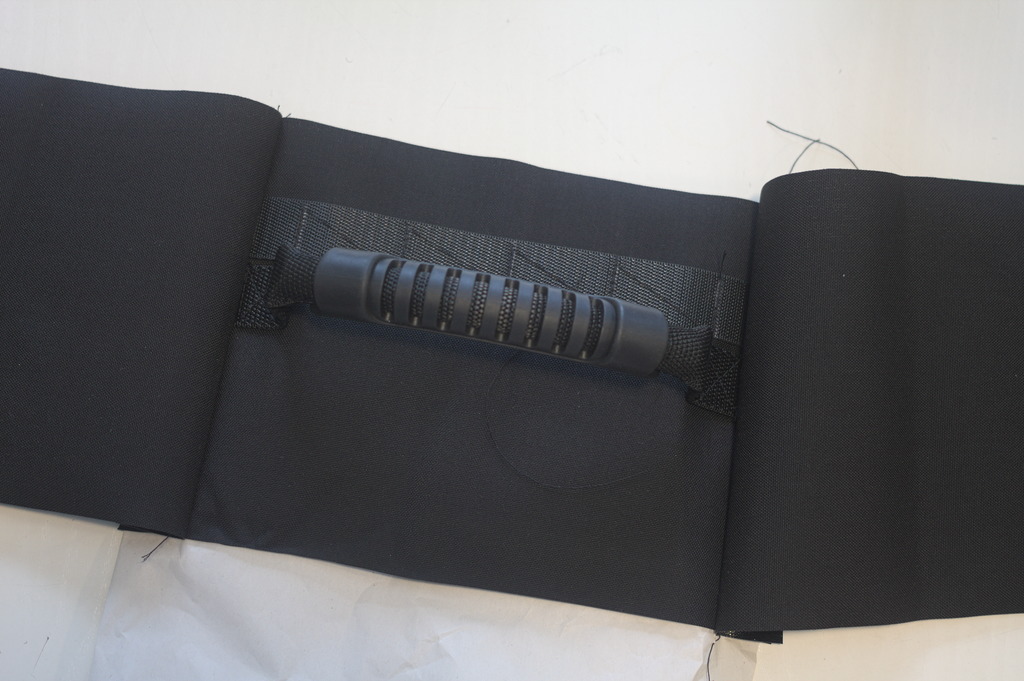
Attach the handle to the top panel, aligning the webbing edges with the edges of the panel. If you want also attach a piece of webbing as long as the top panel towards the back, sewing as usual at the center and every 4 cm.
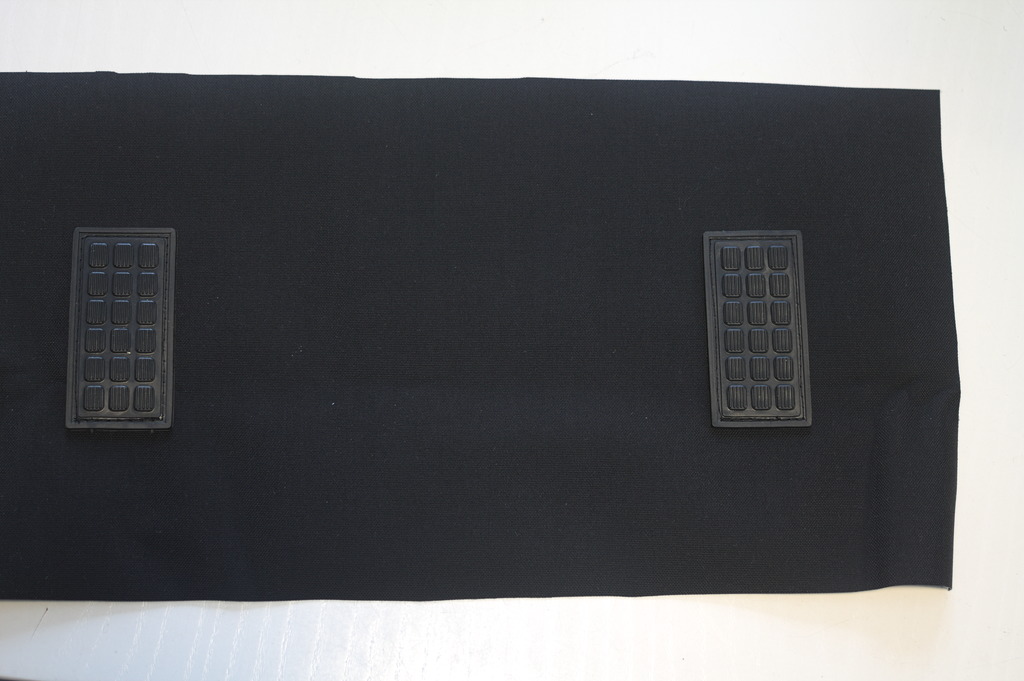
Sew the pads to the bottom panel.
Prepare the lining pieces
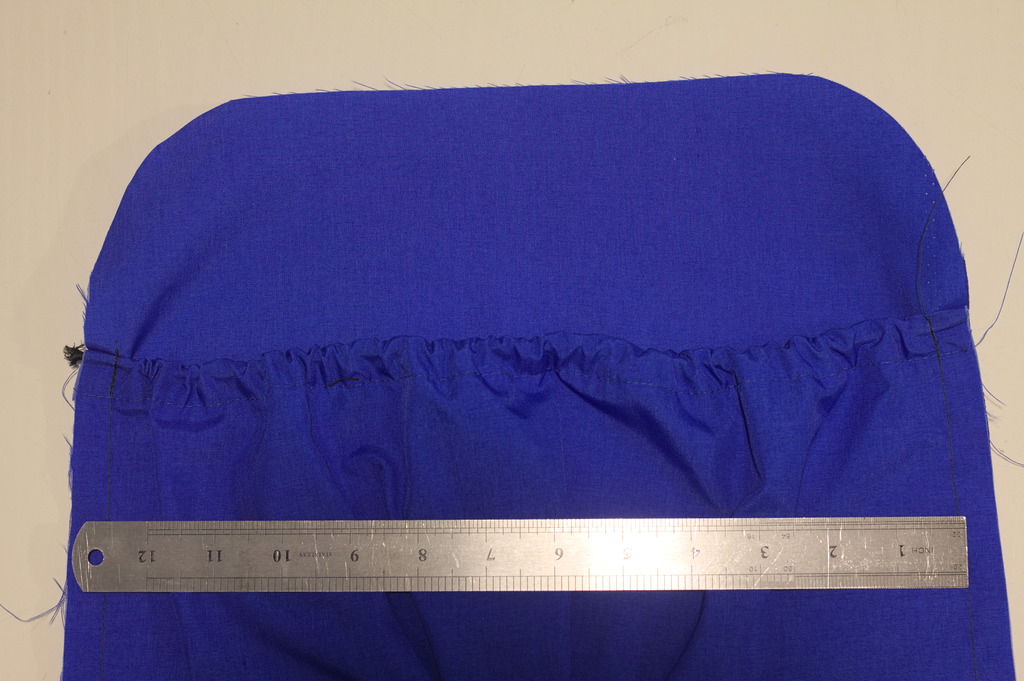
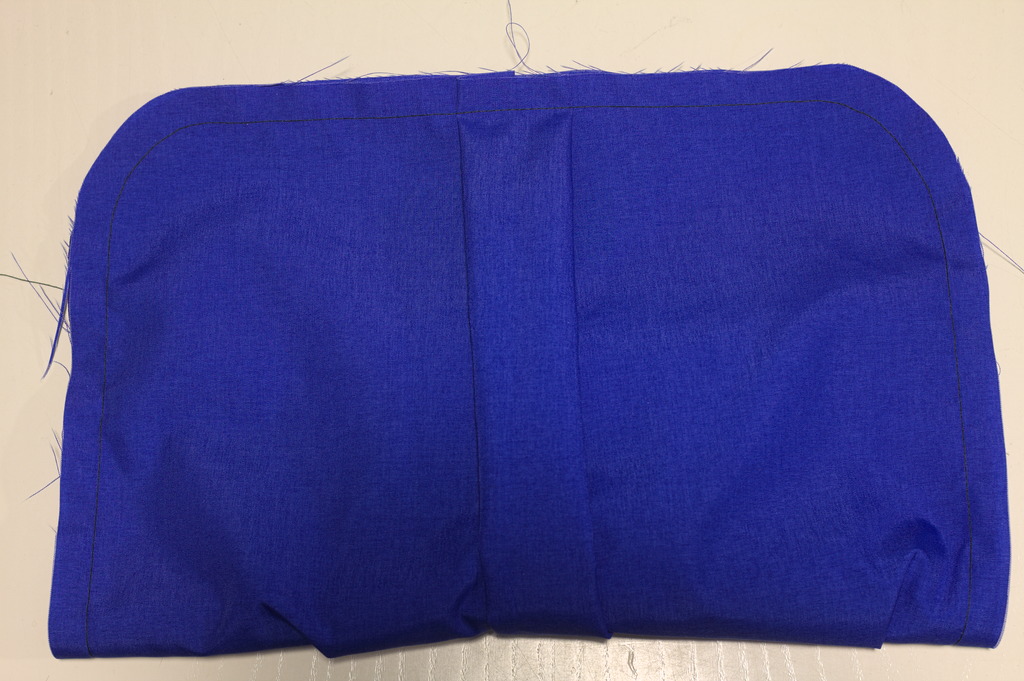
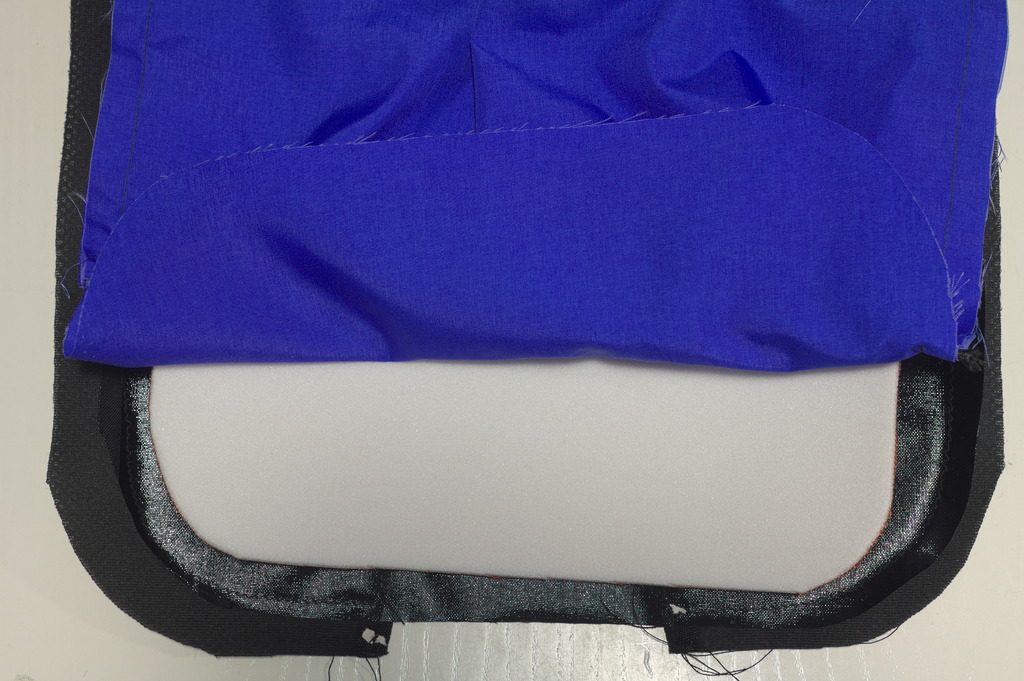
Take the inner pocket lining piece, zigzag the top edge, fold it down 1 cm and again 2 cm, sew 1-2 mm from the bottom fold to create a channel for the elastic.
Place the elastic in the casing, put the wrong side of the pocket on the right side of the back panel lining with a pleat at the center bottom, sew all around with a seaming allowance of 1.5 cm, backticking over the elastic.
Attach the padding to the back

Bind the edges of the 3D mesh that will be visible with the twill webbing.
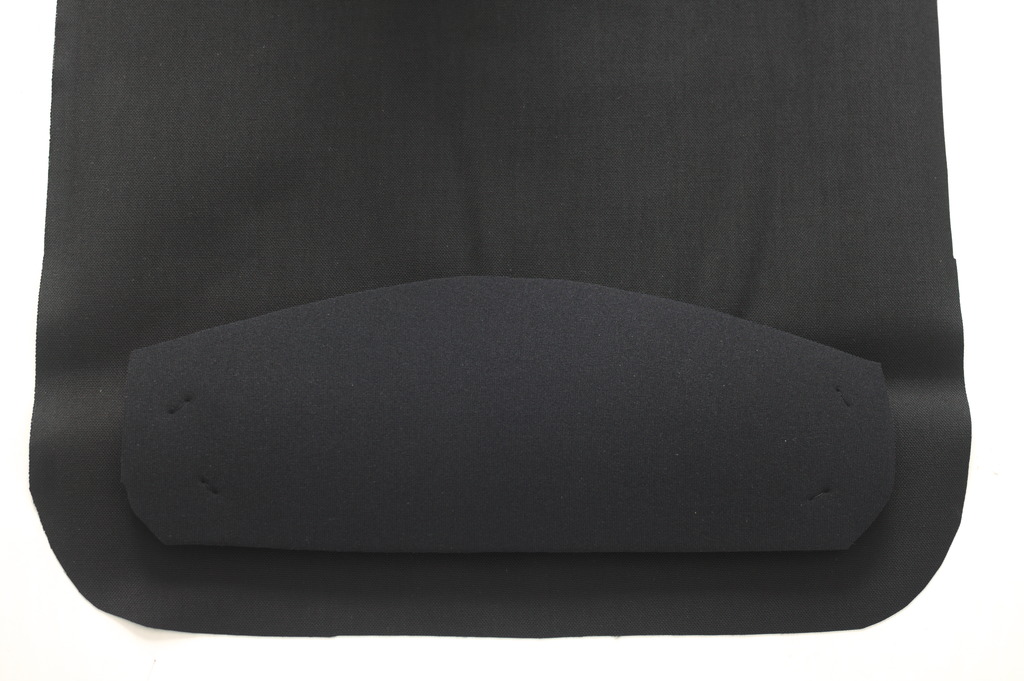
Baste by hand the heavy padding to the fabric back panel with a few stitches.
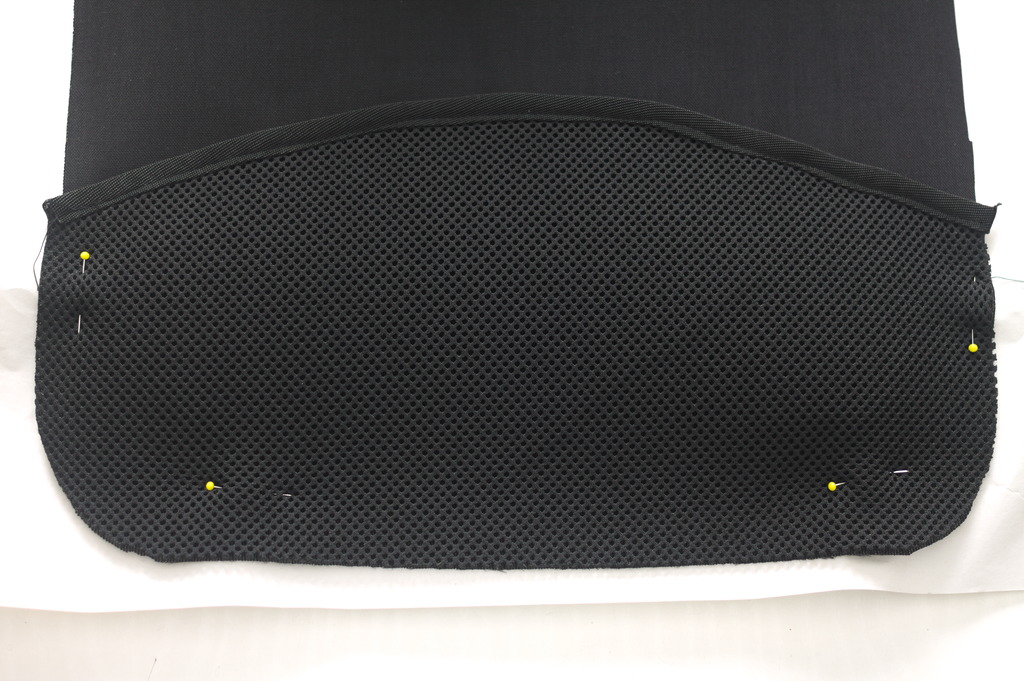
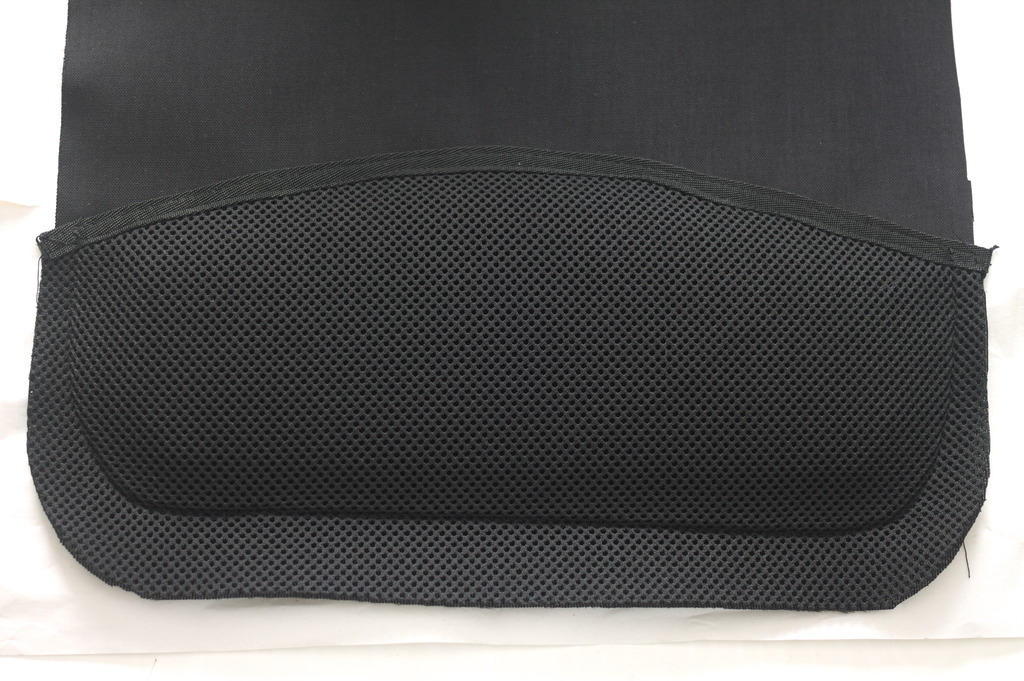
Put the 3D mesh on top and sew near the edge of the mesh, enclosing the padding.
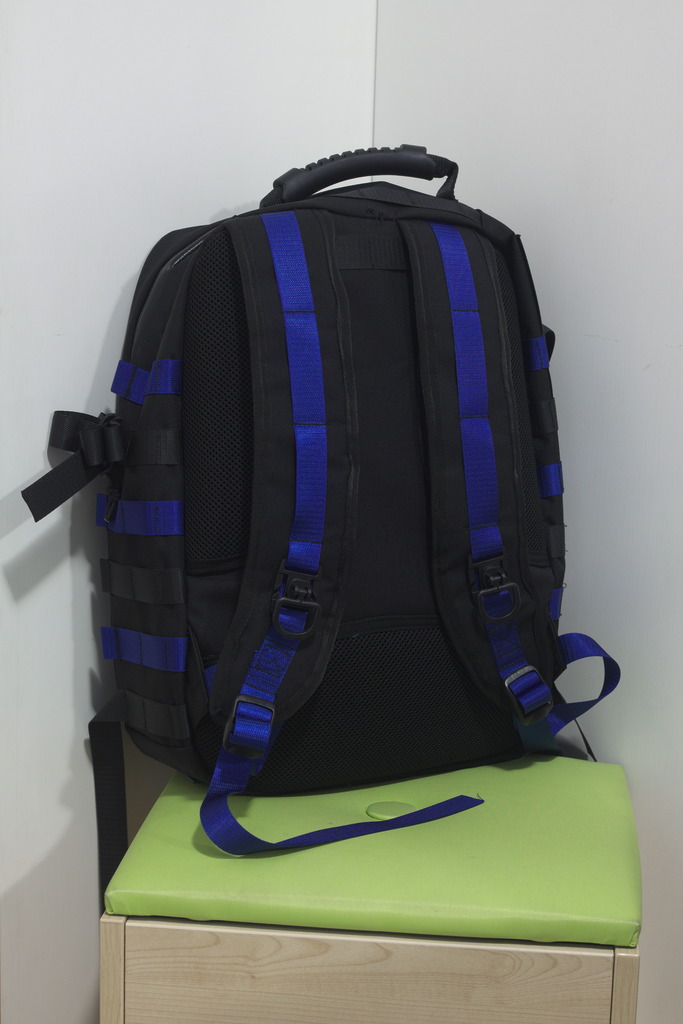
Prepare the shoulder straps
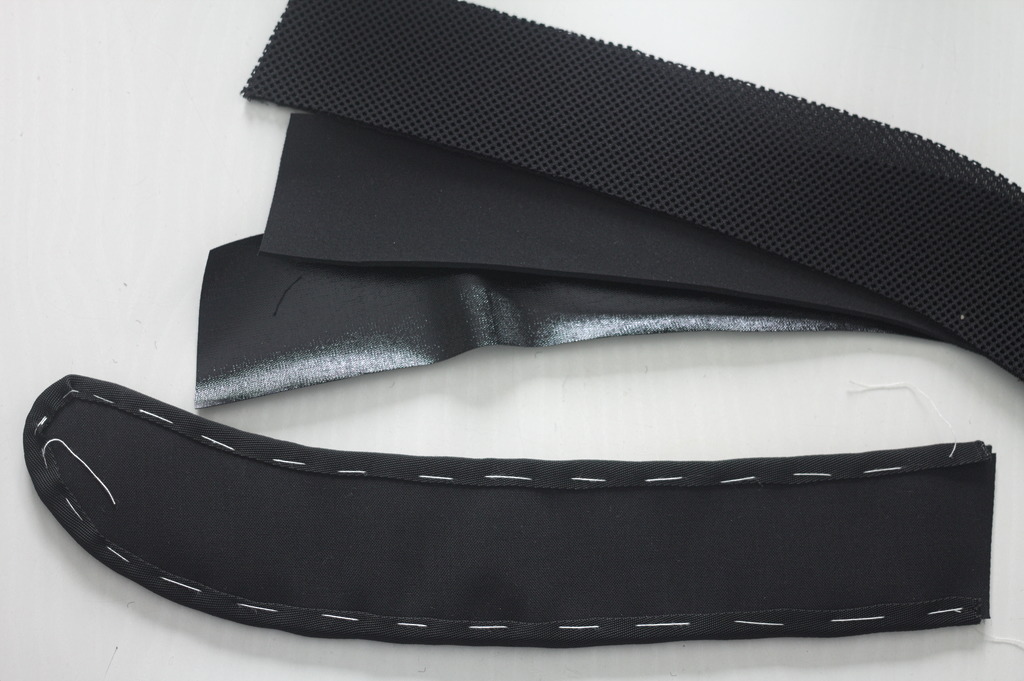
Sandwitch the light padding pieces between a layer of fabric and one of 3D mesh, bind the edges with the twill webbing.
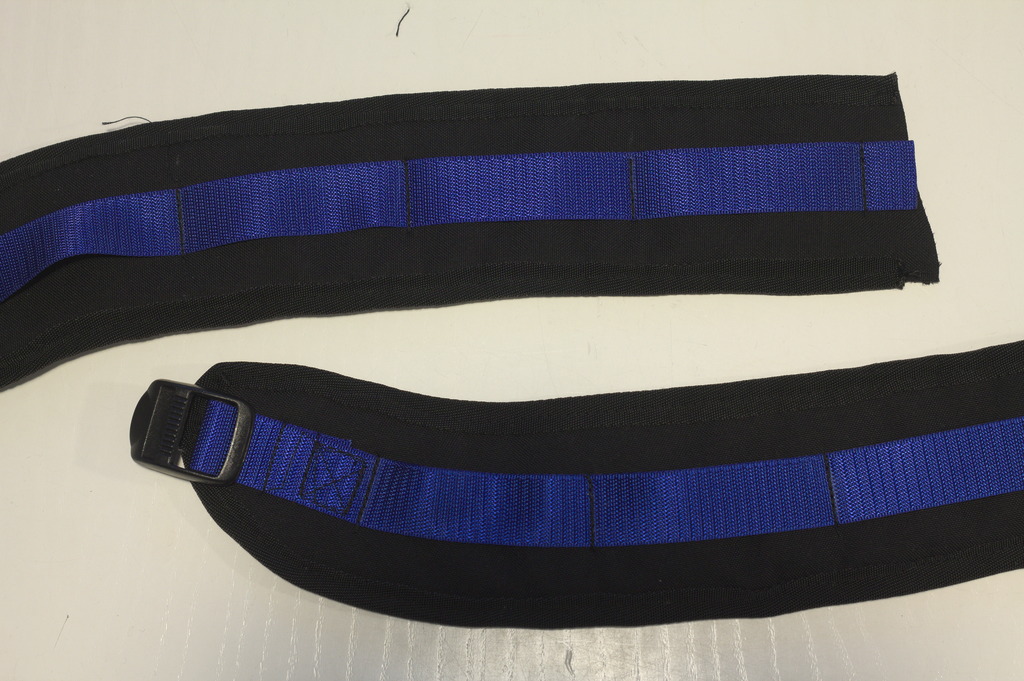
Cut two pieces of webbing 46 cm long, seal the edges and sew them to the shoulder straps near the top and every 8 cm, attaching the triglides near the bottom.
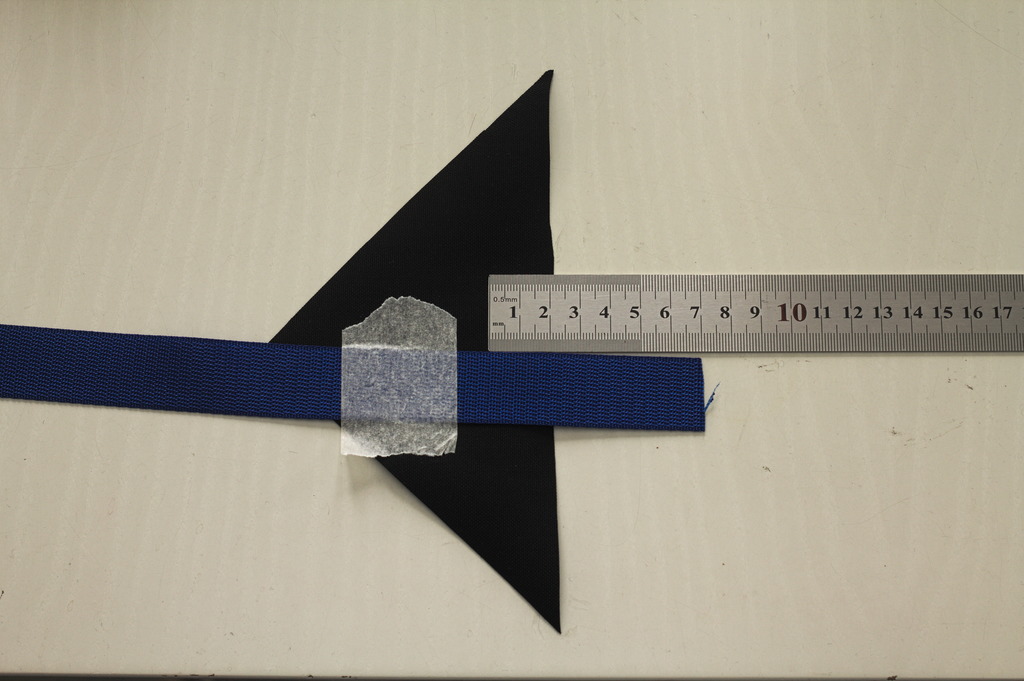
Cut two pieces of webbing 70 cm long, seal their edges.
Put one end on the right side of one small triangle of fabric, so that one edge goes from one corner to the middle of the long side, and there are 5 cm of webbing beyond the long side.
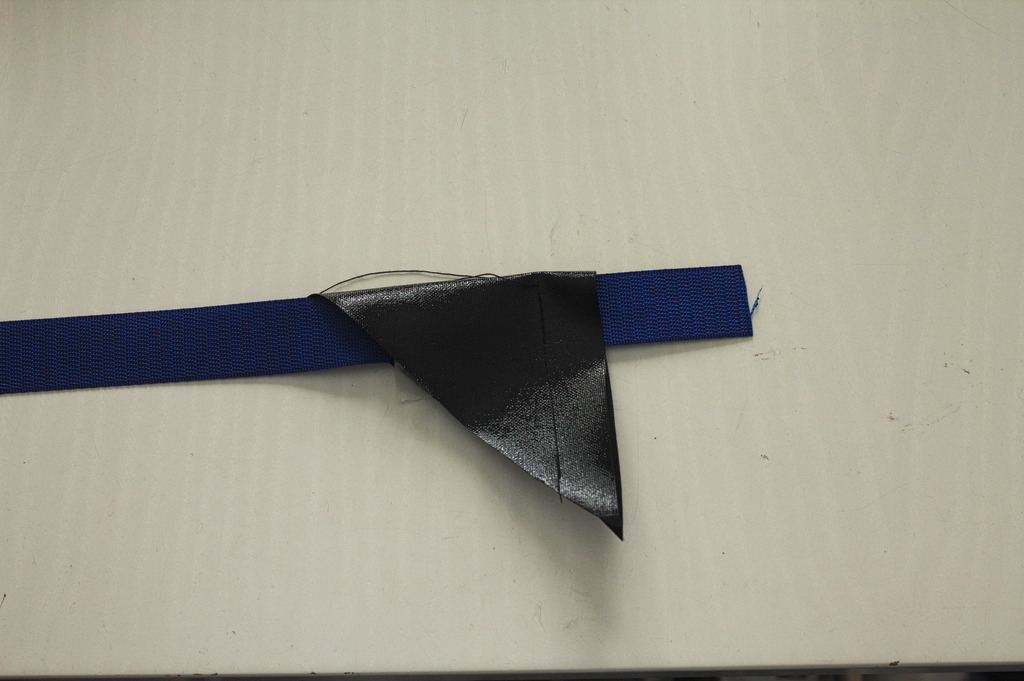
Fold the triangle in half, right sides facing, and sew 2.5 cm from the long edge.
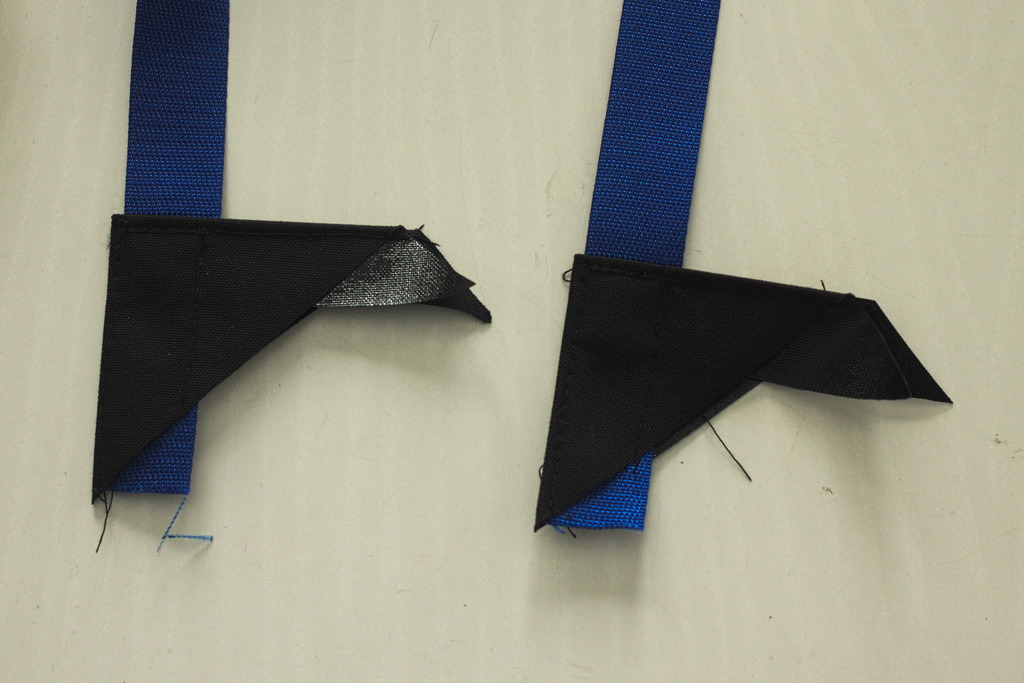
Turn the triangle inside out, topstitch near the edges of the webbing.
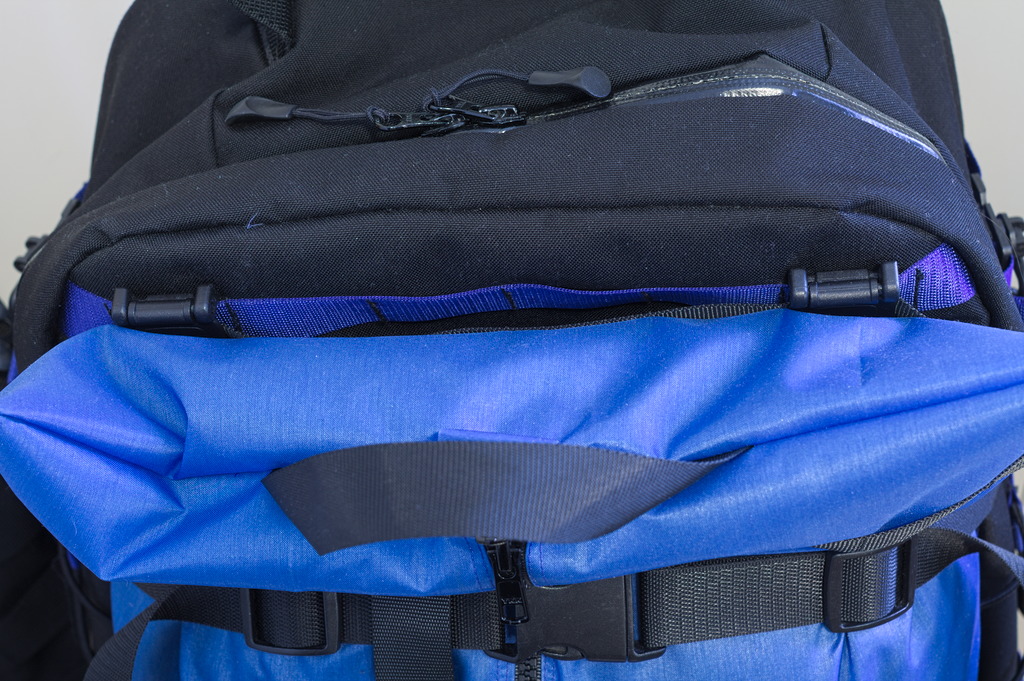
Assemble the sides / add the zipper
Place the top and one side panel of the fabric right sides together, sew the short side; repeat with the other side panel. Open the seam and (finger-)press the allowances towards the sides.
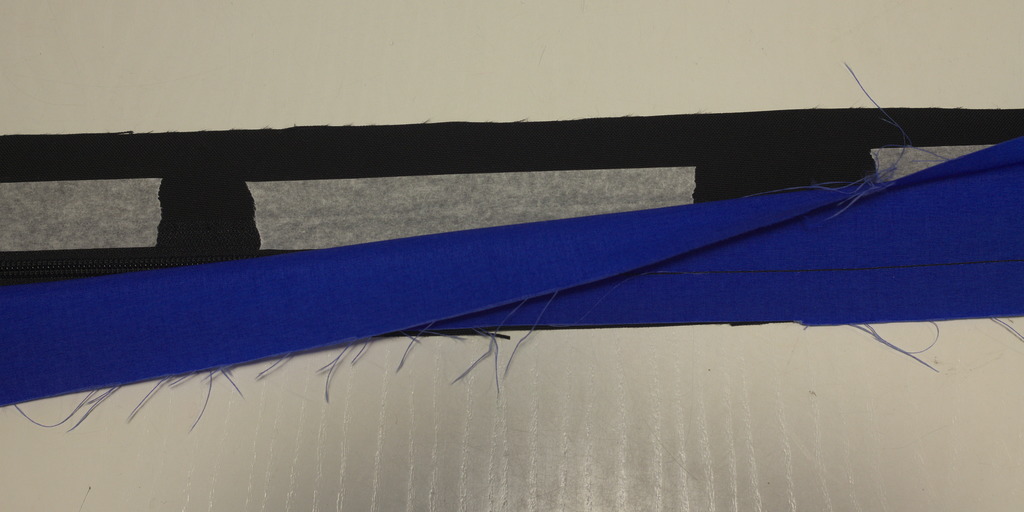
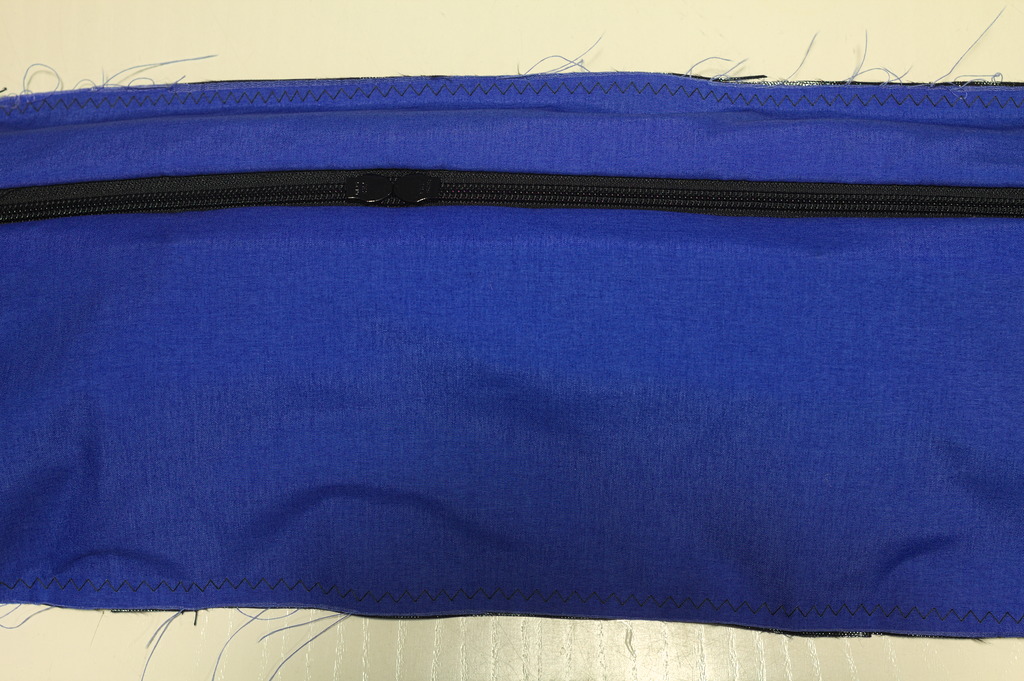
Place the right side of the zipper on the right side of the front side panel (the thin one that is in one piece) and place the right side of its lining on top of both; sew so that thr zipper is sandwitched between the two layers and turn them inside out so that the zipper protudes.
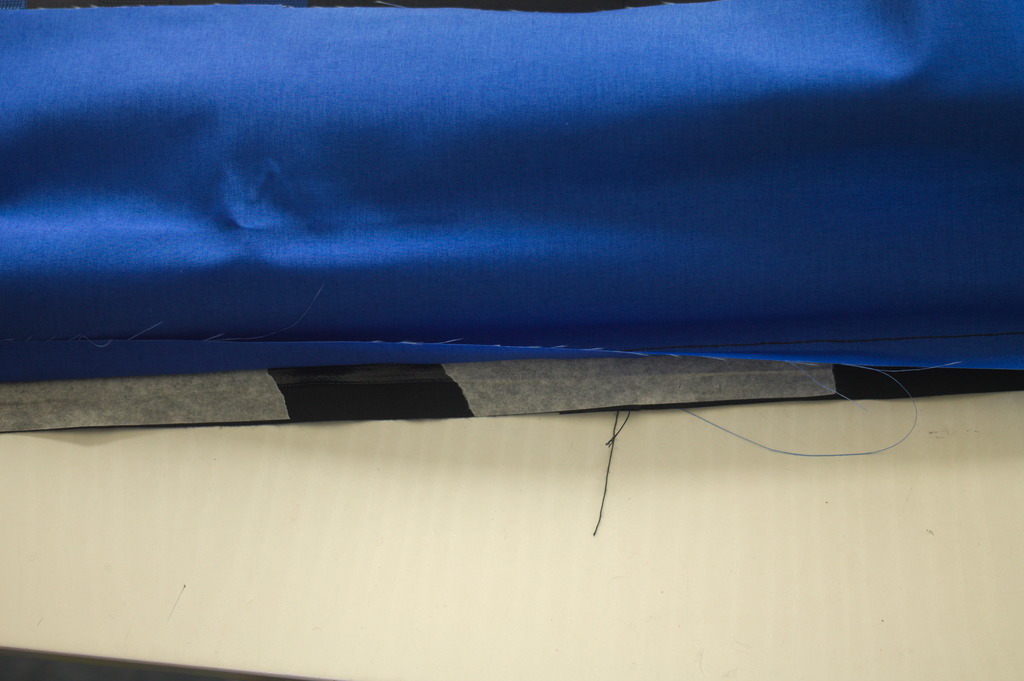
Place the right side of the zipper and assembled panel on the right side of the back side/top panel (the one assembled from the sides and top) and place the right side of its lining on top of both; sew as above and turn inside out.
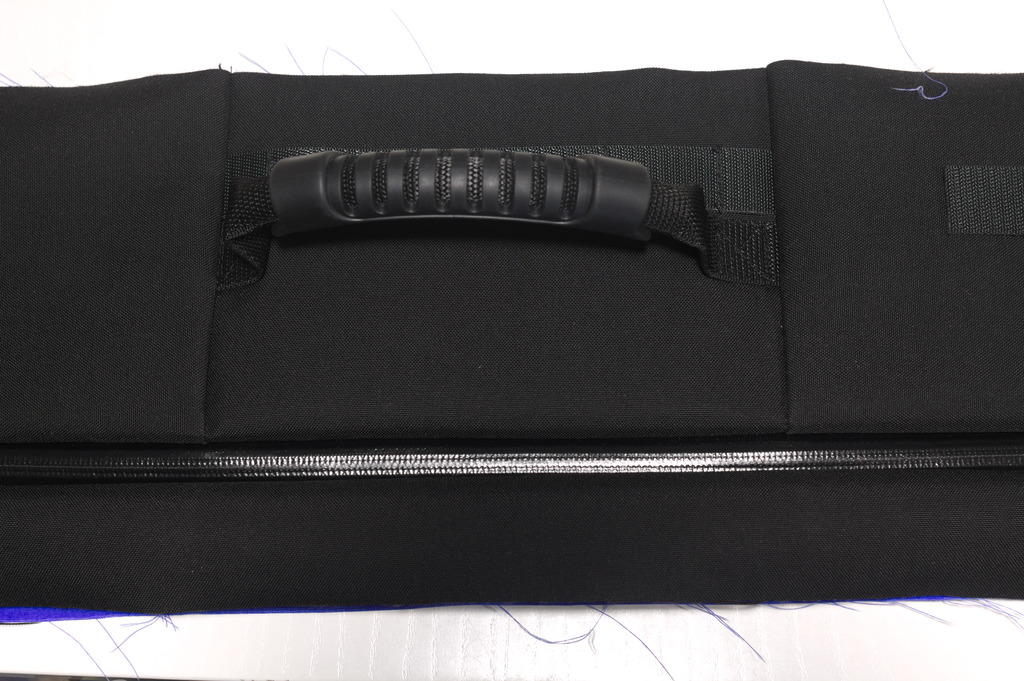
Insert the zipper pulls in the assembled top/sides.
Baste the lining
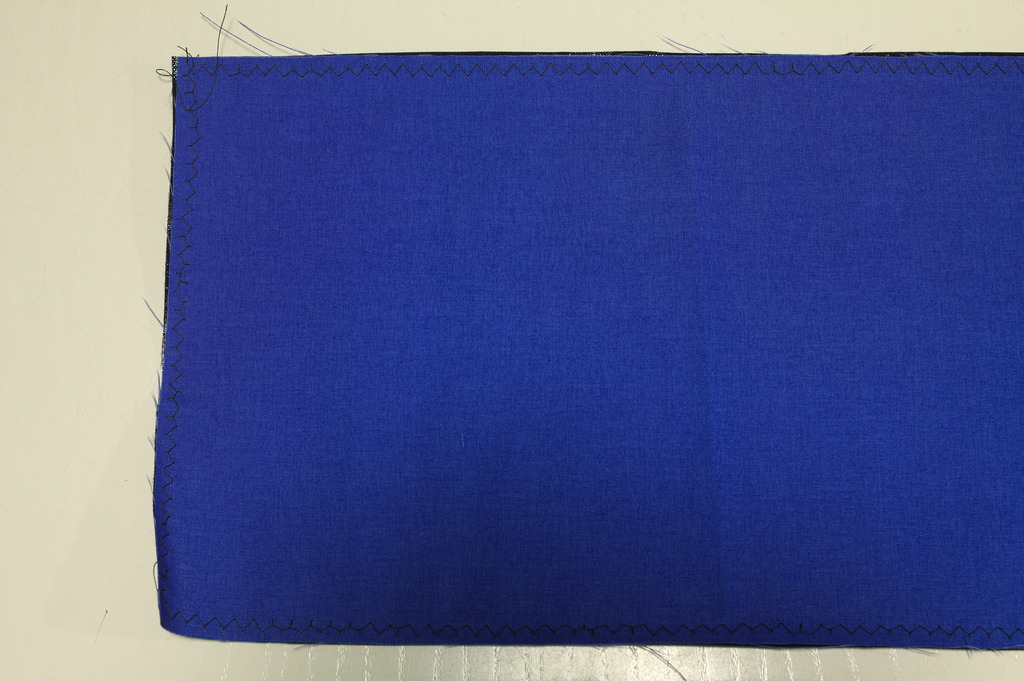
In this step we will attach all lining pieces to their fabric ones, wrong sides facing with a wide zig-zag stitch, so that they are easier to treat them as one while assembling the backpack and to prevent the raw edges from fraying before they are covered with tape.
Sew the lining and fabric of the top/side panels on the remaining raw edges.
Sew the lining to fabric of the bottom panel.
Sandwitch the rigid padding between the lining and the fabric of the front panel, sew all around the edges.
Sandwitch the rigid padding between the lining (including the pocket) and the fabric of the back panel, sew all around the edges.
Assemble the backpack
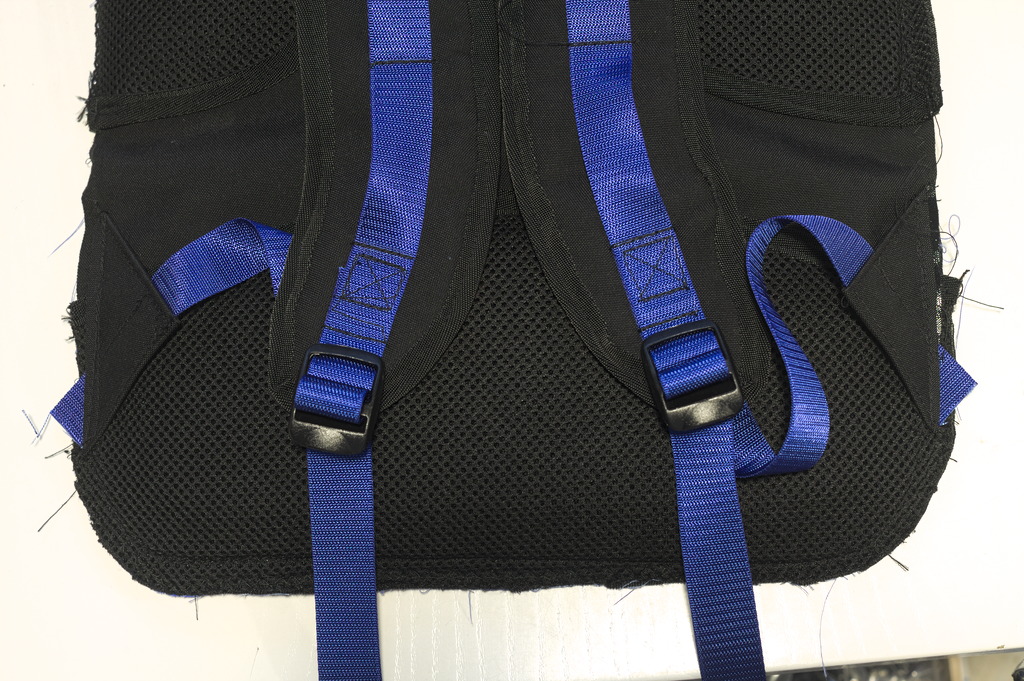
Sew the shoulder straps and the lower strap triangles to the back panel, 1.5 cm from the edge.
Place the bottom panel on the top/side panel, right (fabric) sides facing, sew on both short edges. Fingerpress the raw edges towards the bottom and bind them with twill webbing.

Place the right (fabric) side of the top/bottom/sides on the right side of the back, sew all around. You may have to clip the raw edges near the curves before sewing.
Open a few centimeters of the zipper.
Place the right (fabric) side of the top/bottom/sides on the right side of the front, sew all around. As above if needed clip the raw edges before sewing.
Bind the remaining raw edges with the twill webbing (this will require two pieces of twill webbing 157 cm long).
Turn the finished backpack inside-out, enjoy it and start planning accessories. :)
Simple Add-ons
Some of the add-ons I've already made are so simple that they don't really require instructions (or they used instructions that are available elsewhere).
Clothing bag
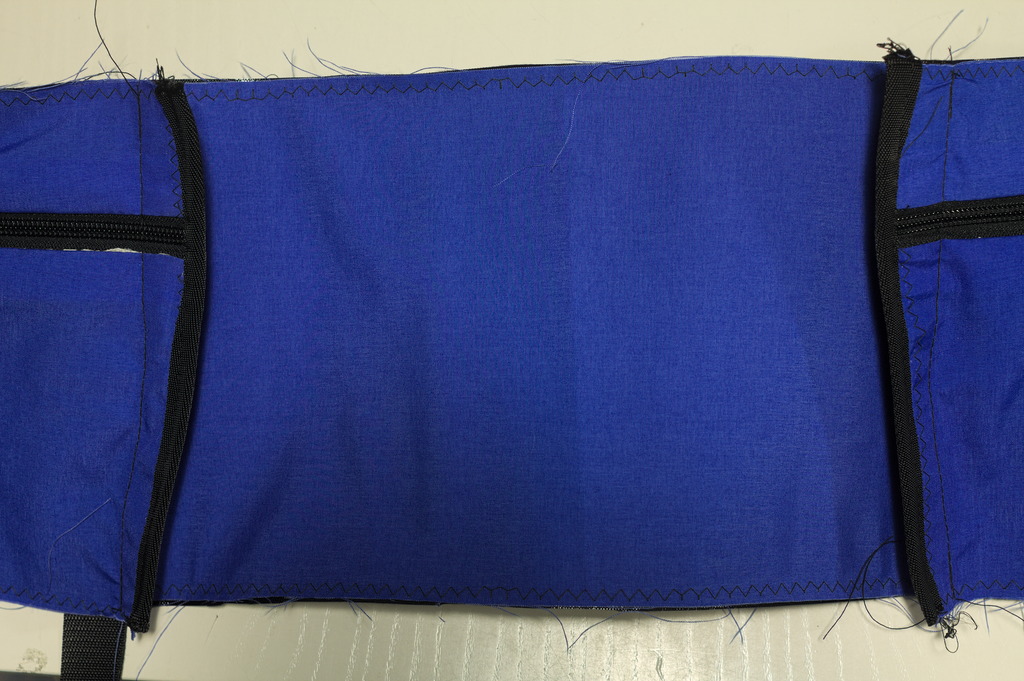
To carry a change of clothing and a few toiletries (and be able to easily detach them from the backpack during the day) I've made a simple silnylon bag with a front zipper like my unlined box bag with a strip of webbing near the top, sewed at the usual 4 cm intervals, and four vertical strips placed where the compression straps are, for additional safety.
The vertical strips are both on the front and on the back to be able to choose whether to keep the zipper in the front (more convenient) or in the back (safer from rain and thieves [1]).
| [1] | that are desperate enough to steal some unbranded underwear or a used toothbrush: that's not really my main worry most of the time. |
(The side bag half-visible in the picture was bought because it was cheap enough for the complexity of its shape… and it shows.)
