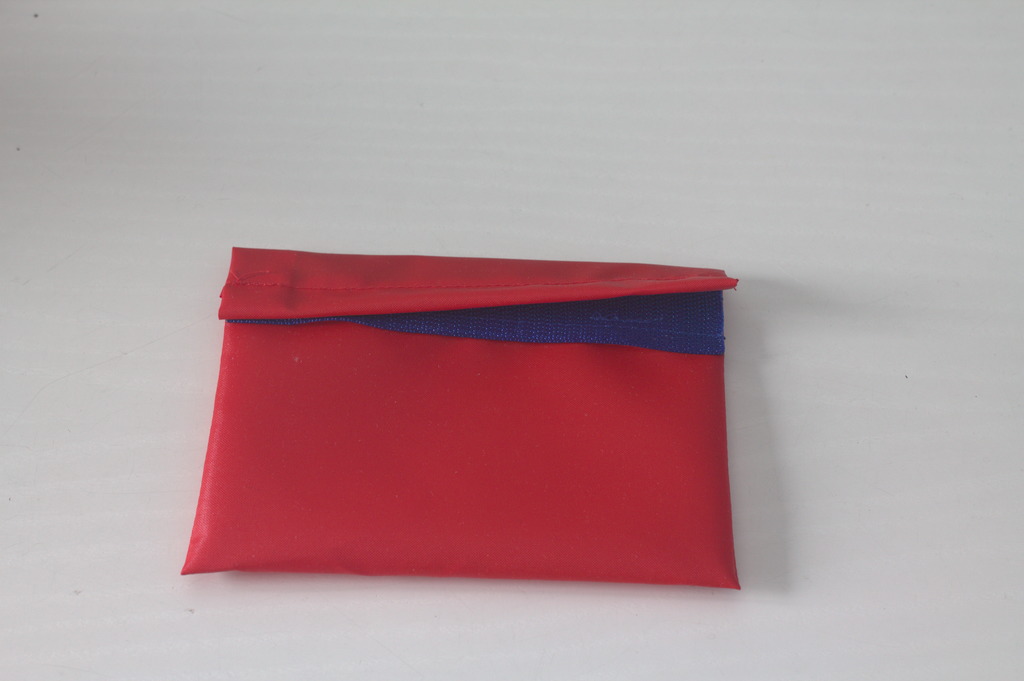
Ticket Bag
Shown here with the badge I'm currently using at badge-less conferences.
While wearing a conference badge, the temptation to use the badge holder to carry small bits of paper such as meal tickets etc. is strong, but that can lead to issues where — as apparently it happened at the latest DebConf — half of the people you meet are called "on site meal", reducing the usefulness of badges.
Lately I've also been using a credit-card sized badge for the events organized by our local groups (and for small conferences where no badge is provided), and that doesn't have room for additional materials at all.
Lately I've bought some cheap silnylon and was looking for something to do with it (yes, I know, it should be the other way around. I know! But don't we all end up failing to resist such temptations?) and decided that I needed a small bag that can be attached to the same lanyard that I'm using for my badge, to keep food tickets etc.
A scrap of webbing provides stability to the top edge, and I've used a couple tiny magnets I already had for the closure, and some cord to provide an attachment point to the lanyard.
The whole project took less than an hour, including taking pictures of each step and struggling a bit with the tiny magnets and slipperyness coated fabric.
Instructions
You will need:
- one rectangle of lightweight water repellent fabric, 16 x 25 cm, plus a bit;
- 12 cm of webbing;
- 4 small magnets (mine were about 2mm ⌀);
- 30 cm thin cord.
When using coated fabric you want to minimize holes, so use a longer stitch than usual (I've used about 3mm) and avoid using pins as much as possible, and only use them in the sewing allowances. Do however backstitch the start and end of all seams, for stability.
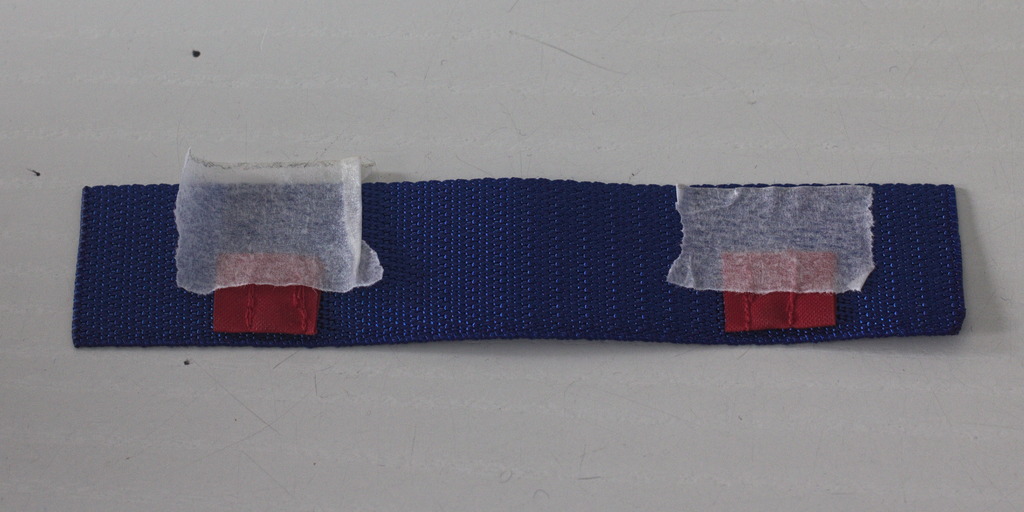
Start by encasing the magnets in some fabric: this isn't strictly required, as they will go in a hem and behind the webbing, but will make it much easier to keep them in place while sewing. Cut 4 small (~ 1 x 2 cm) rectanges from bits of fabric, fold them in half, sew two sides and insert the magnets.
Cut also the webbing, heat treat the cut edges so that they will not fray and sew the magnets near one of the edges. You can use some masking tape to keep them in place while sewing.
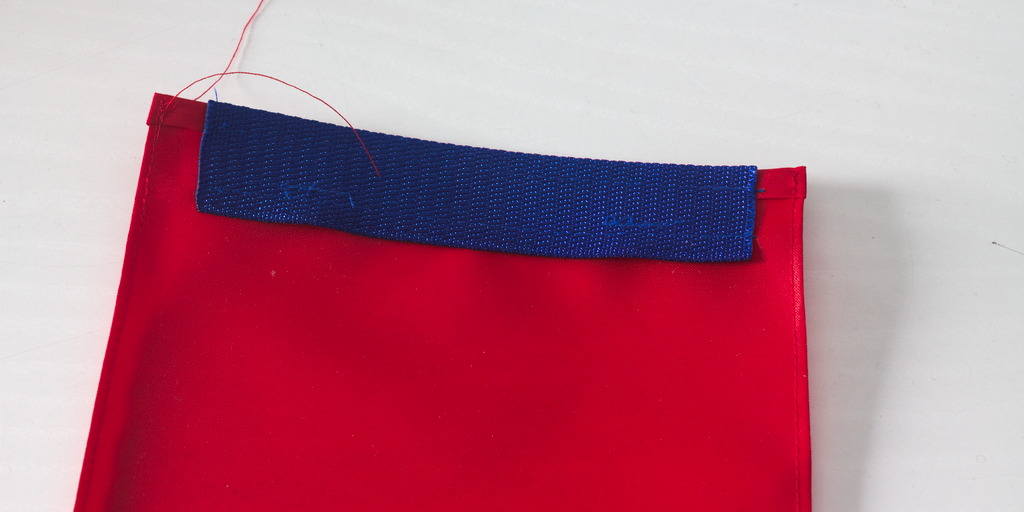
Fold down one short edge of the main fabric rectangle 8mm and then again 1 cm, topstitch. Place the webbing on this edge with the magnets towards the fabric side where you folded the hem. Sew about 6 mm from both edges of the webbing, creating a channel.
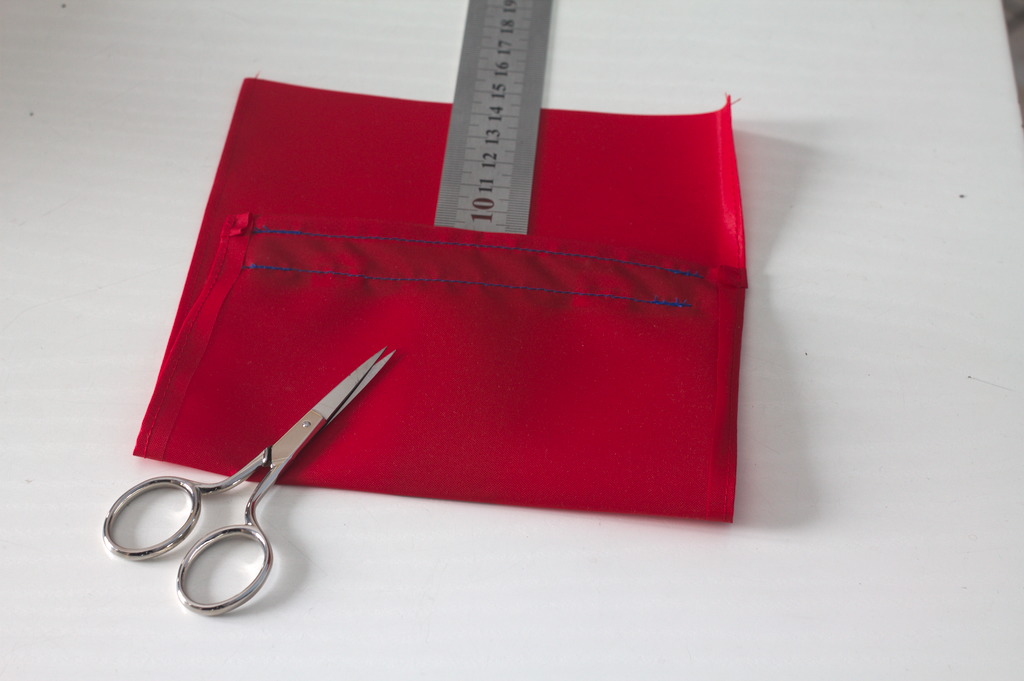
Fold the long edges 8 mm towards the wrong side (i.e. the one without webbing), sew ~ 2 mm from the fold.
Fold the fabric so that the edge with the webbing is 9 cm from the fold, right sides facing; sew the sides with 1 cm seaming allowance (or just out of the webbing).

Turn inside out so that the right sides are on the outside.
Being very careful to correctly align the magnet polarity with the ones under the webbing, attach the two other magnets so that they hang out from the remaining short edge.
Unluckily, on silicone coated fabric you will not be able to use masking tape to keep the magnet in place, and the bits of fabric are too small to safely use pins, so you'll have to be careful and slow with the machine, or just baste by hand (as everything will be finished with a machine seam in the next step).
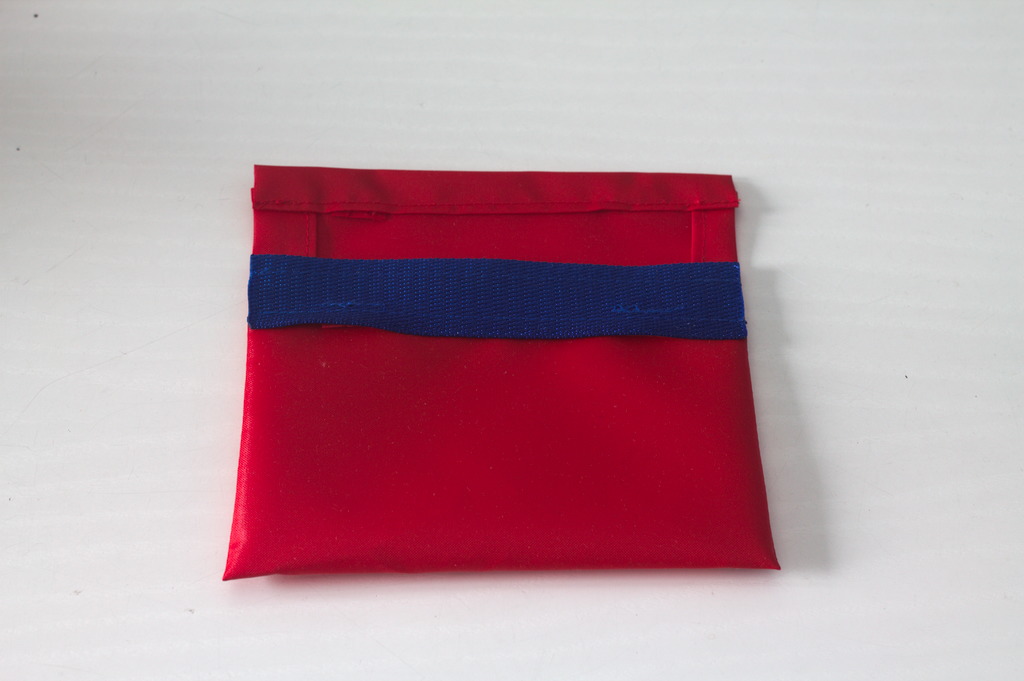
Fold this edge down 8 mm and then again 1 cm, or as needed to align it to the bottom edge of the webbing; topstitch.
The pouch will close precisely, guided by the magnets.
Now pass the cord through the channel formed by the webbing, join the edges with a weaver's knot and pull it inside the channel.
Attach your pouch to your conference lanyard, and try to check periodically that it's not covering your badge, as you don't want to be called “rectangle of $COLOUR fabric". :)
